Parameters in Tag Integration allow you to map data layer values for use in tracking and analytics. After setting up a data layer with the initial parameters, these values need to be explicitly defined in Tag Integration to ensure they are utilized effectively.
Mapping parameters involves creating entries in Tag Integration that correspond to specific values from the data layer. This step ensures that your tracking implementation captures and processes the necessary data accurately.
Before you begin mapping parameters, ensure your data layer is properly set up. For detailed information on configuring the data layer, refer to our Data Layer Essentials for Tag Integration.
1 Purpose of Parameters Mapping
Utilization: Without mapping, data layer values will not be available for tracking purposes.
Customization: Define parameters to align with your specific tracking requirements.
Flexibility: Parameters can represent dynamic data points such as user interactions, product details, or session variables.
2 Creating Parameters in Tag Integration
To define parameters, follow these steps:
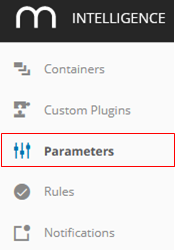
In Tag Integration, navigate to Parameters in the main navigation area.
Click New parameter to add a new parameter.
Now make the settings for this parameter:
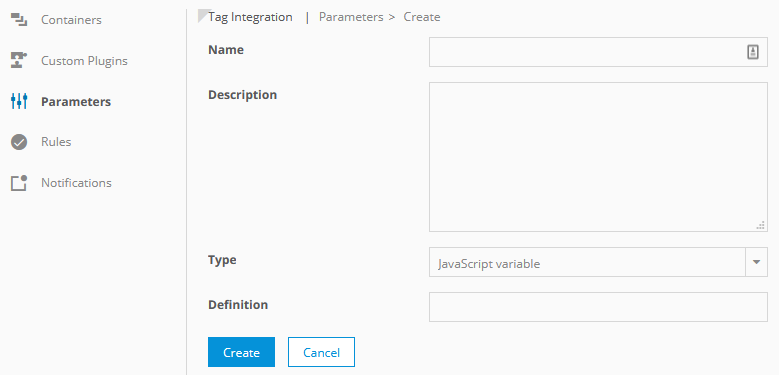
Parameter
Description
Example
Name
Enter a name for the new parameter.
Customer ID
Description
Optionally, add a description to the field provided.
Contains customer ID after login
Type
Select from the dropdown list the required type, from which the value should be read out:
JavaScript variable
URL parameter, for example, to process campaign codes that are already linked to this URL
All URL parameters have to be UTF-8 encoded.
Mobile parameter
JavaScript variable
Definition
Add the name of the JavaScript variable or URL parameter.
if you are using "wts": "wts.get ('customerID')
if you are using other: arrayname[variableposition].variablename
Double quotation marks are not allowed.
_ti.customerId
Click Create to add the new parameter. The new parameter will be added to the list of existing parameters in the overview. You have now successfully created new parameters, which you now have to assign to the tracking function in the Mapp Intelligence plugin.
Although 90% of the usual tracking requirements are covered with individual parameters, such as recording pages, adding individual information to pages, tracking of products and orders, forms, etc., you can even improve the tracking performance using event-driven tracking. Please read the description of this feature in the chapter Rules.