Purpose
Export customer, order, and product data from Adobe Commerce to an SFTP account or a server.
Navigation path
Adobe Commerce Admin Panel > Stores > Configuration > Mapp Cloud > CSV Exports
What can I do in this window?
Configure CSV export to server or SFTP
Define recurring exports
Export CSV files manually
Procedures
The size of the files may impact how fast they are exported.
Export to the server
Log in to the Adobe Commerce Admin panel.
Go to Stores > Configuration > Mapp Cloud > CSV Exports.
Under Export Method, select Local Filesystem Only.
Enter the path where the CSV export files should be saved.

Click the Save Config button.
Now you can configure recurring or one-time exports in the Customer Export, Order Export, and Product Export sections.
Exports to SFTP
You need a functioning SFTP account to set up this export.
Log in to the Adobe Commerce Admin Panel.
Go to Stores > Configuration > Mapp Cloud > CSV Exports.
Under Export Method, select SFTP.
Enter the details of your SFTP server.
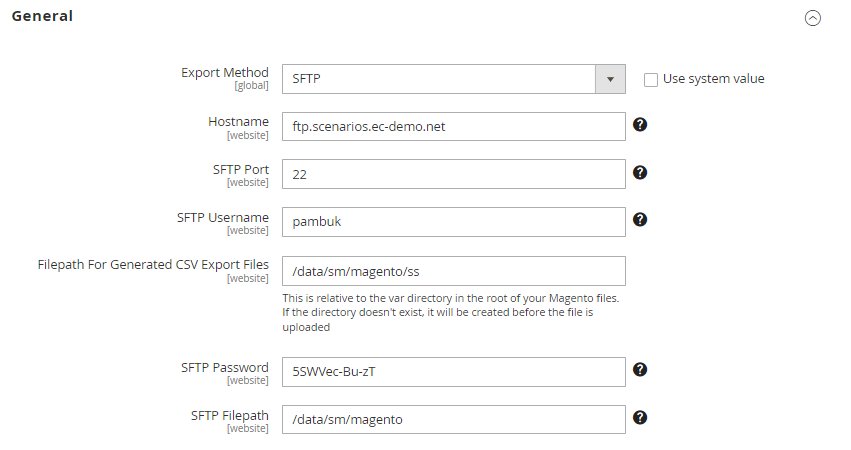
Click the Save Config button.
Now you can configure recurring or one-time exports in the Customer Export, Order Export, and Product Export sections.
Recurring exports
Log in to the Adobe Commerce Admin Panel.
Go to Stores > Configuration > Mapp Cloud > CSV Exports.
Scroll to the Customer / Order / Product Export sections.
Under Enable Order Export, select Yes.
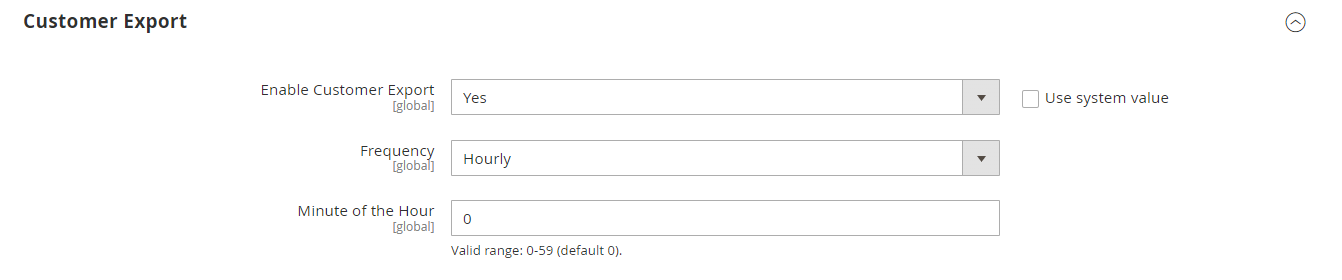
Set the exporting frequency. Hourly and Daily recurrence is possible.
Click the Save Config button.
One-time export
Log in to the Adobe Commerce Admin Panel.
Go to Stores > Configuration > Mapp Cloud > CSV Exports.
Scroll to the Customer / Order / Product Export sections.
Under Enable Order Export, select No.

Under Manual Export, click the Queue Export Now button.
Click the Save Config button.