---
title: "Custom HTML"
slug: "custom-html"
updated: 2024-12-11T11:55:41Z
published: 2024-12-11T11:55:41Z
canonical: "docs.mapp.com/custom-html"
---
> ## Documentation Index
> Fetch the complete documentation index at: https://docs.mapp.com/llms.txt
> Use this file to discover all available pages before exploring further.
# Custom HTML
Custom HTML elements allow you to embed flexible and dynamic content on your website. These elements can be tailored to address specific user scenarios, improving engagement and enhancing the overall user experience. Custom HTML is a valuable tool for businesses across industries, providing complete creative control over on-page content.
---
## Typical Use Cases for Custom HTML
Custom HTML can dynamically address various business needs. Here are some common examples:
- **Promoting Sign-Ups**: Display a newsletter subscription form to new visitors.
- **Personalized Checkout Options**: Show tailored payment methods based on the customer segment.
- **Interactive Call-to-Actions**: Present interactive buttons, pop-ups, or other elements designed to guide user behavior.
---
## S**teps to Prepare and Create a Custom HTML Campaign**
### Prepare the Foundation
Before creating a Custom HTML campaign, ensure the following foundational elements are set up:
1. **Host the Custom HTML Element**
Store any additional assets your Custom HTML might reference (e.g., images, stylesheets) on a publicly accessible server.
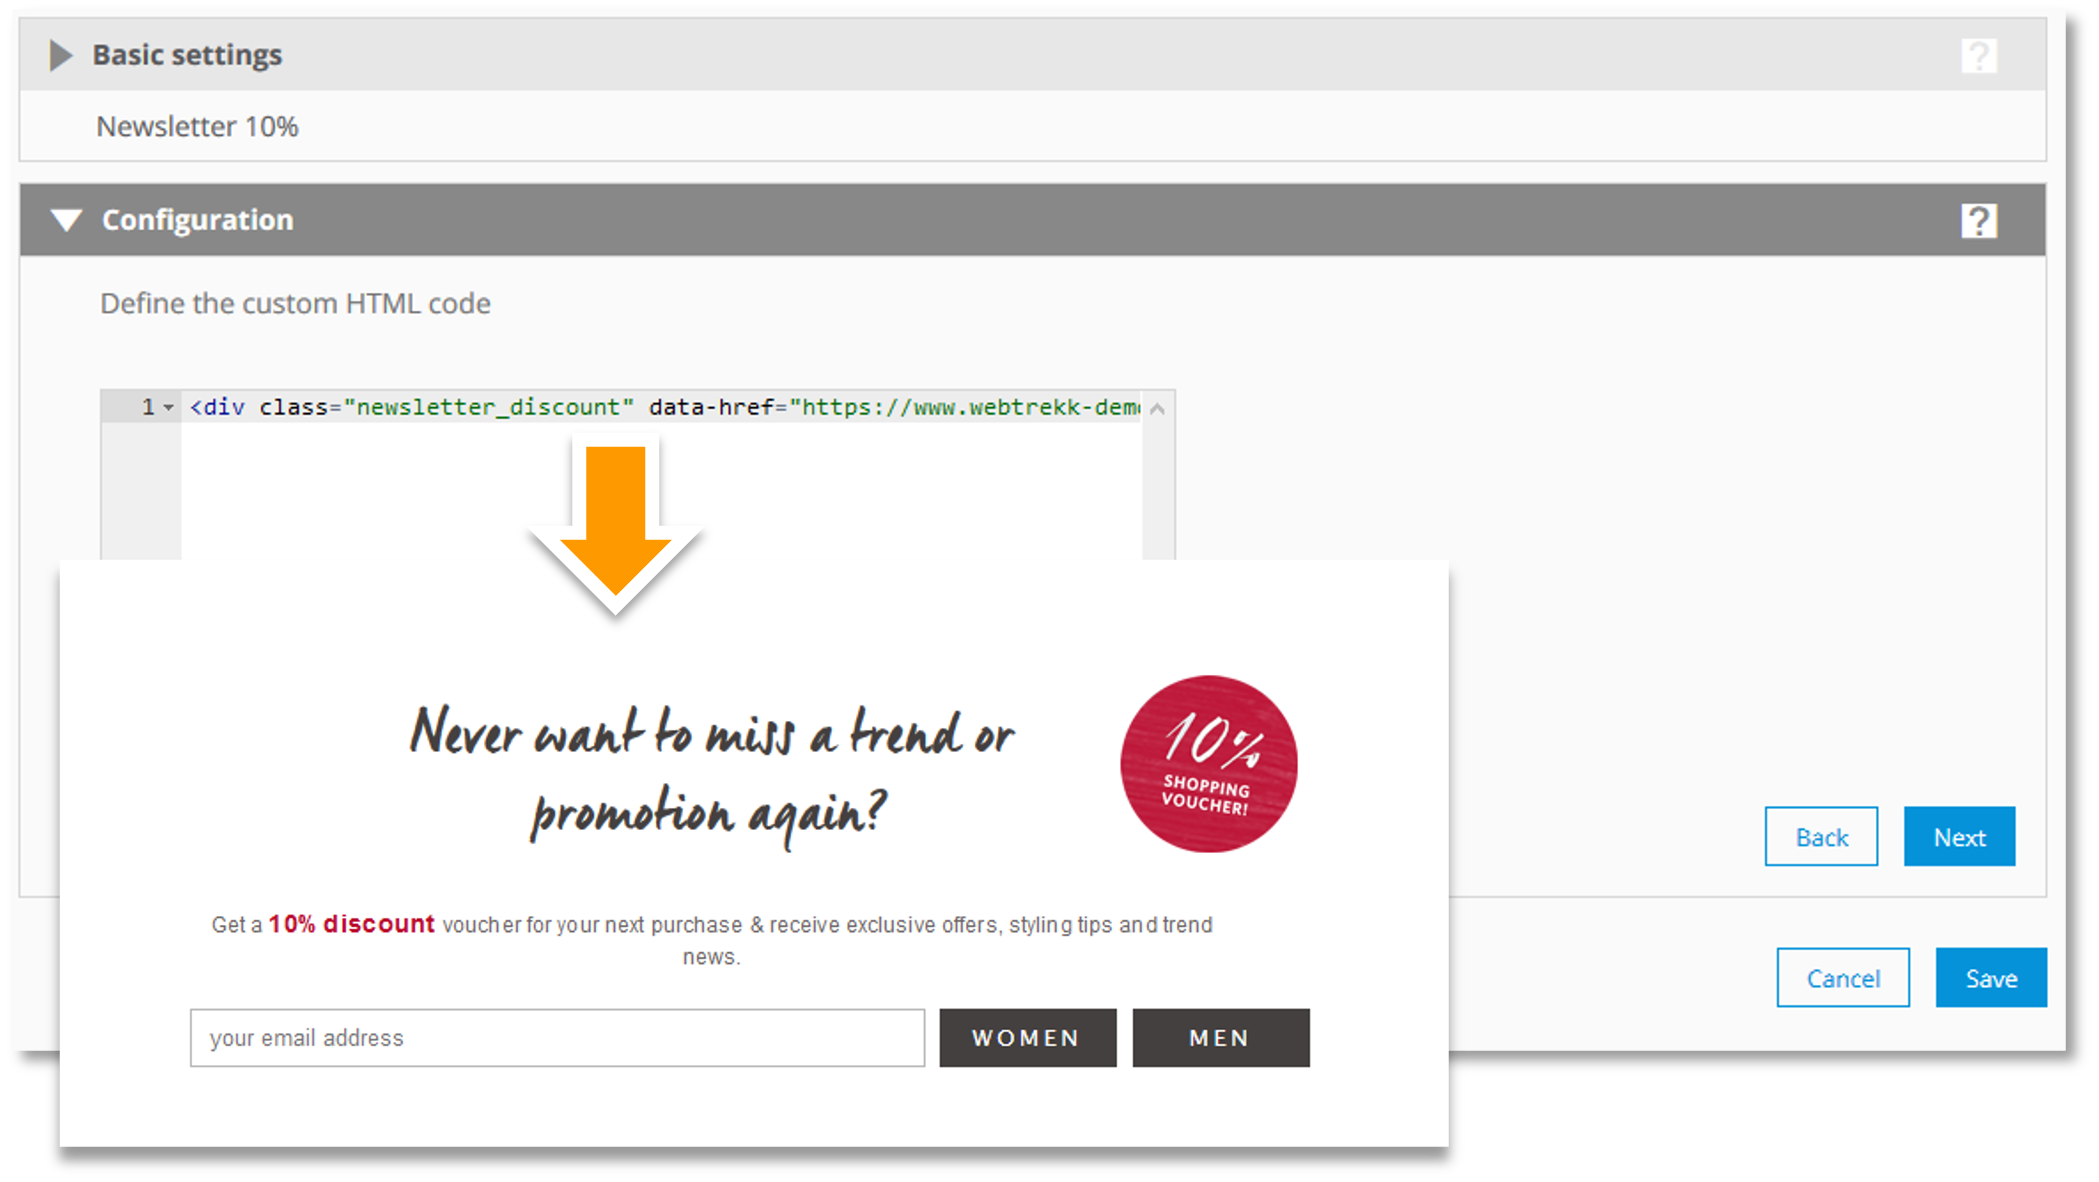
2. **Create a New Custom HTML Configuration**
Navigate to *Contents > Custom HTML* and select **Create a New Custom HTML**. Enter the following configuration details:
- **Name**: Provide a unique name for the Custom HTML element for easy identification.
- **HTML Code**: Paste or write the desired HTML code you want to display dynamically on your website.
---
### Step 1: Create the Custom HTML Campaign
Once the foundation is set, you can create a Custom HTML campaign:
1. Navigate to *Marketing Automation > Campaigns* and click **Create a New Campaign**.
2. Define the campaign elements:
1. **Target Group**: Select the audience segment you want to target. More information [here](/v1/docs/target-groups).
2. **Content**: Choose the Custom HTML content you prepared earlier.
3. **Frequency Cap**: (Optional) Limit how often the Custom HTML element is displayed to the same user.
4. **Placement**: Select the appropriate placement where the Custom HTML will appear. More information [here](/v1/docs/placement).
3. Save and activate your campaign.
### Step 2: Track Performance in Mapp Intelligence
The analysis of performance metrics is available under the *Campaigns > Performance* tab. Here, you can view detailed metrics for your campaigns. For advanced analyses, click **Explore in Intelligence** to access additional metrics, apply filters, and perform deeper custom evaluations. Mapp Intelligence automatically tracks the performance of your Custom HTML elements:
- **Views**: How often the Custom HTML is shown.
- **Clicks**: Measures user interactions with the Custom HTML element.
- **Conversions**: Tracks the number of desired user actions (e.g., purchases, sign-ups) completed.
- **Engagement**: Tracks subsequent page impressions after clicking the Custom HTML.
*(Note: Engagement tracking stops when the session ends or another banner/campaign is clicked.)*
---
## Managing Existing Custom HTML
To monitor and manage your Custom HTML:
- Navigate to *Contents > Custom HTML* to view, edit, or delete existing elements.
- Use this area to:
- Check performance metrics for individual Custom HTML elements.
- Make adjustments to improve performance or update content as needed.