Event-driven Functions
- 2 Minutes to read
- Print
- DarkLight
Event-driven Functions
- 2 Minutes to read
- Print
- DarkLight
Article summary
Did you find this summary helpful?
Thank you for your feedback
Tag Integration offers the possibility to restrict the execution of plugins on specific web pages (for example, the conversion page for classic marketing tags), but also on certain events. This can be achieved by defining user-defined rules.
A classic example is the "Add to shopping basket" button on an e-commerce website: Often a product is put into the shopping cart, without having to open a new page. In the background, only a corresponding JavaScript function is called. The tracking script itself does not notice anything about this action. To track this event anyway, define the following:
Define the event type (such as "click", "submit", "hover" and any desired custom event type).
Define the element for which an event is to be tracked.
Example Event-driven Function
In the following example, there is a simple button on the website:
<button type="button" id="test">Click here</button>Once a visitor clicks this button, the message "Button clicked" is issued.
To define a rule and integrate the function example as mentioned above, proceed as follows:
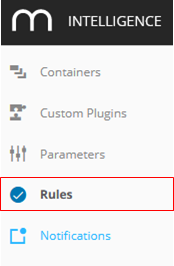
In Tag Integration, navigate to Rules in the main navigation.
Click New rule to add a new rule.
Now specify the new rule as follows:
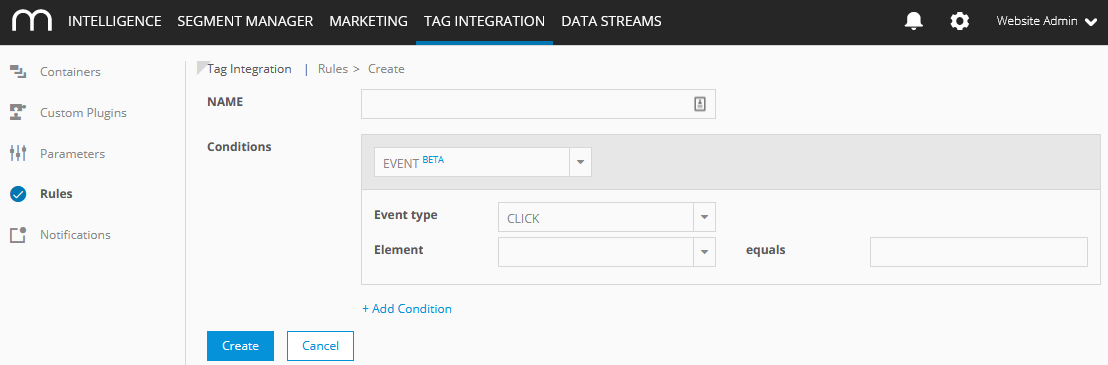
Parameter
Description
Example
Name
Enter the name of the new rule.
Button clicked
Conditions
Select from the dropdown list the condition.
Click "Add condition" if you want to define further conditions.
Event
Event type
Choose the event type from the dropdown list:
click
mouse over
form
custom event
Click
Element
Choose from the dropdown list the required element:
ID
class
and then enter the element value in the provided text field.
ID
Finally, click Create to save your settings. The new rule will be added to the list of all existing rules in the overview.
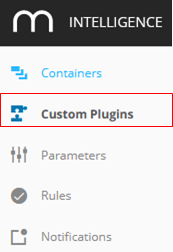
Create now a custom plugin, which will call the JavaScript alert(); function. Navigate to Custom Plugins in the main navigation area.
Click New plugin to add a new custom plugin.
Now specify the new custom plugin as follows:
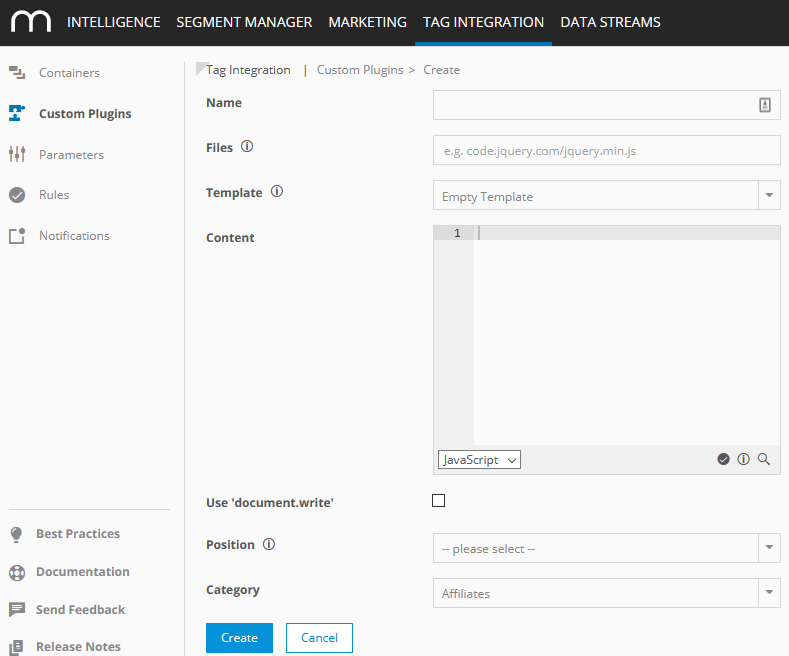
Parameter
Description
Example
Name
Enter the name of the new custom plugin.
Button clicked
Files
You can specify URLs to external JavaScript files, which are necessary for the execution of this plugin.
Template
From the dropdown list, choose a template to use as the script.
Content
Add the JavaScript function, which should be executed by this plugin.
Custom plugins allow the execution of arbitrary JavaScript code. Parameters that are created in Tag Integration based on JavaScript variables or URL-parameters can be used here. The following function can then access parameters:ti_parameter("Name of the created parameter");alert("Button clicked);
Use 'document.write'
"Document.write" is a JavaScript method to add content dynamically to an HTML document. If you are using tags with this method, activate this option to prevent that the browser overwrites the existing document and replaces it with the content of the "document.write" call.
Position
Specify where the script should be loaded:
head
After <BODY>
Before </BODY>
instantly
instantly
Category
From the dropdown list, select the category.
WebAnalysis
Click Create to save your settings. The new custom plugin will be added to the list of all existing custom plugins in the overview.
Now you can add the newly created plugin to the appropriate container.
Finally, assign the rule created in step 3.


Was this article helpful?