Mapp Intelligence offers several optional extensions to track additional user behavior, such as teaser visibility or scroll depth. These extensions can be easily integrated into your website using Google Tag Manager (GTM).
Prerequisite
To use extensions, you must first complete the Basic Implementation. The steps below describe how to extend that setup to support extensions.
This page explains how to activate selected extensions by generating and embedding a custom Smart Pixel script.
Overview of Supported Extensions
The following extensions can currently be configured via GTM:
Teaser Tracking
Track visibility and interactions with promotional content (e.g. banners or carousels)
Content Engagement
Measure scroll depth and time spent on sections of your content
Product List Tracking
Monitor interactions with product lists, such as impressions and clicks
Each extension may require additional setup (e.g., selecting DOM elements). This configuration is done either in GTM or directly in your website’s JavaScript.
Implementation Steps
To use extensions, you need to perform two additional steps in your GTM container:
A) Add the Tracking Script via Custom HTML
In your container, click Tags > New.
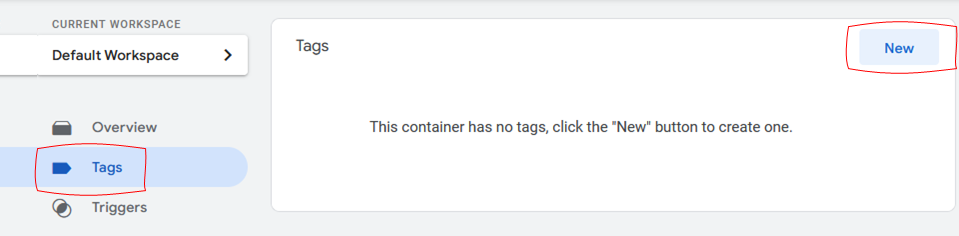
Select Tag Configuration and choose Custom HTML as tag type .

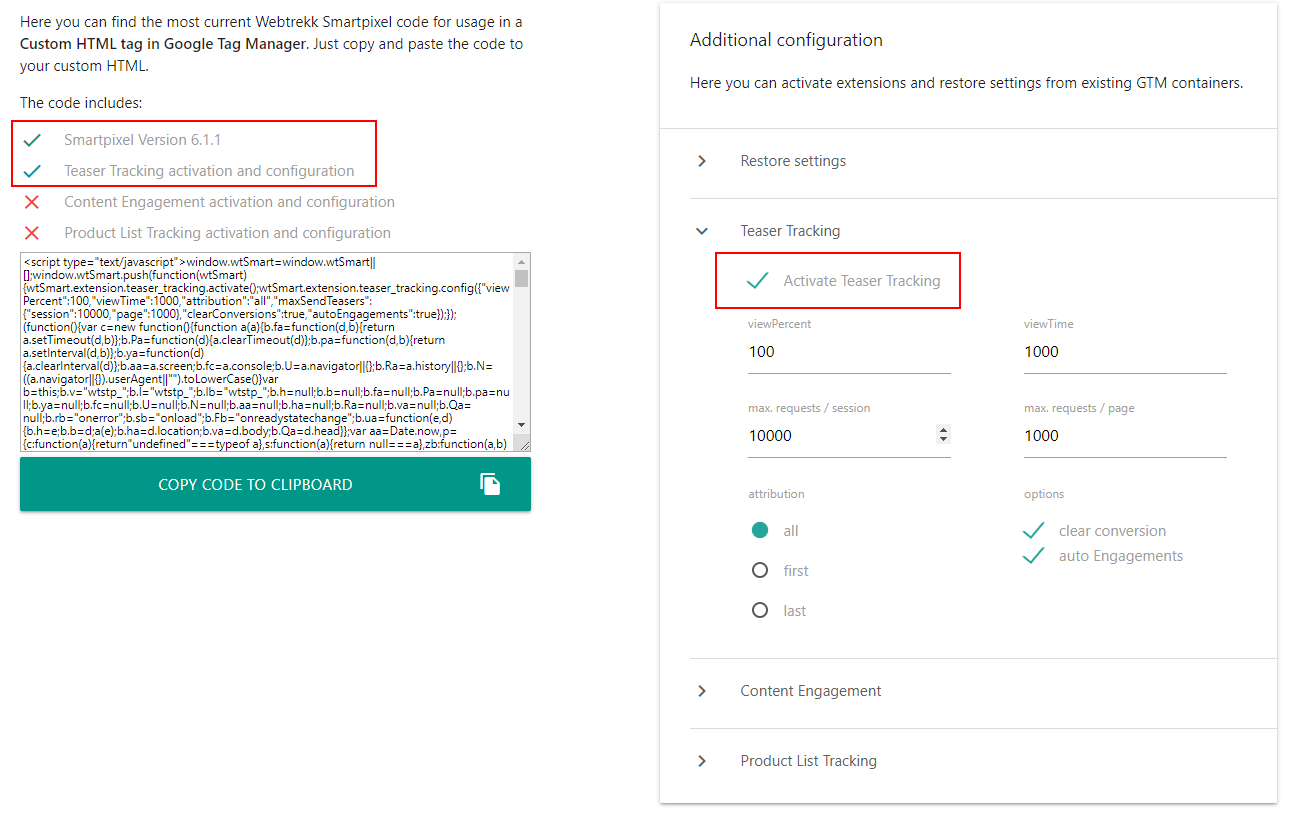
Open the Smart Pixel Configuration Tag page
On this page, you configure the Smart Pixel and optional extensions (e.g., Teaser Tracking, Content Engagement, Product List Tracking).
You can also import settings from an existing GTM container using the Container ID – helpful if you want to reuse or update a current setup.
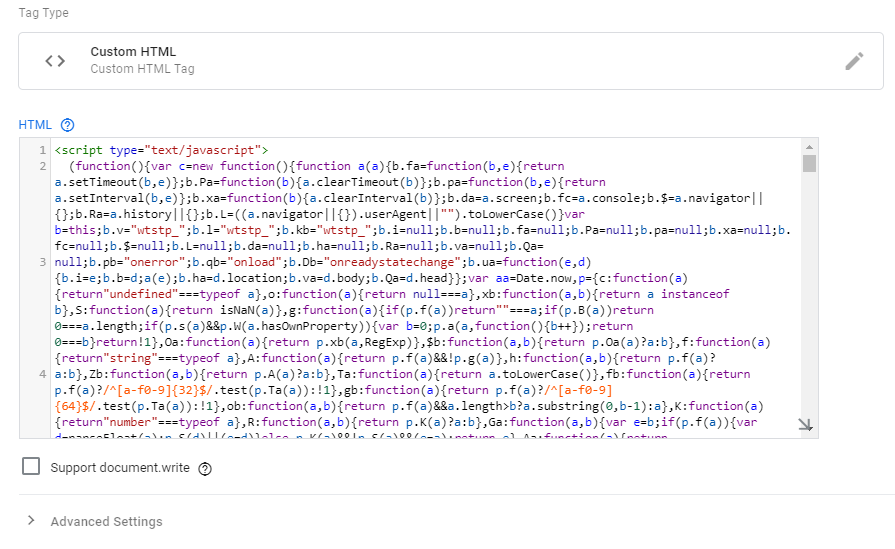
After configuring, copy the generated code and paste it into a Custom HTML tag in GTM.
Paste the generated JavaScript code into the HTML field of your Custom HTML tag.
Under Triggering, choose the option All Pages.

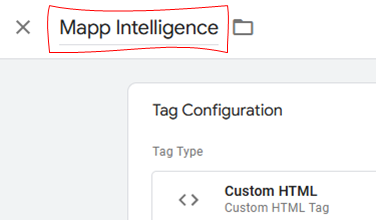
Name the tag (e.g. Mapp Intelligence with Extensions) and save it
B) Activate Tag Sequencing
You must ensure that the extension script (Custom HTML tag) loads before the standard Mapp Intelligence configuration tag.
Open your Custom HTML tag (e.g. Mapp Intelligence with Extensions)
Click Edit > Advanced Settings > Tag Sequencing
Enable Fire a tag after this tag fires and select your configuration tag (e.g., “Mapp Intelligence Tracking Configuration”)

Save your changes
Extension Examples
Example: Activate Teaser Tracking
Suppose you have a page with an image link and want to track it using Teaser Tracking.
<a href="./my-link.html" id="myImage">
    <img src="/example.jpg" alt="My teaser image" />
</a>
First, create a Custom HTML tag with the Smart Pixel code from this page, making sure Teaser Tracking is activated.
After that, add another Custom HTML tag to push the teaser element to Mapp Intelligence.
This tag can load at any time – the only requirement is that the Mapp Intelligence tag must fire after the teaser element is present in the DOM. Here’s the example code to track the teaser:
<script type="text/javascript">
	window.wtstp_ttv2 = window.wtstp_ttv2 || [];
	window.wtstp_ttv2.push({
		selector: "#myImage",
		exclude: [],
		data: {
			name: "my teaser image",
			rank: "main Page Banner",
			content: "custom image",
			variant: "example"
		},
		conversion: {
			type: "view", // view, click, product | default > product
			goal: "order", // order, goal, both | default > both
			value: "10%" // x% > of order value, x > fix value | default > product price
		}
	});
</script>
You can reuse this approach for other teaser elements – just update the selector and values accordingly.