Use Case
This use case demonstrates setting up a Wishlist campaign to increase revenue.
A user puts a product on their wishlist in your online shop.
If they don't buy anything, they will get a reminder message 3 days later.
Prerequisites
Wishlist data must be set up in one of two ways: via a Mapp Connect shop integration or the Mapp Intelligence Tracking Script/SDK. You will find more information and technical details about these tracking solutions here: Abandoned Cart and Wishlist Tracking.
Procedure
A) Create a Prepared Message
This section shows how to create a message that dynamically includes product information based on the Wishlist eCommerce table.
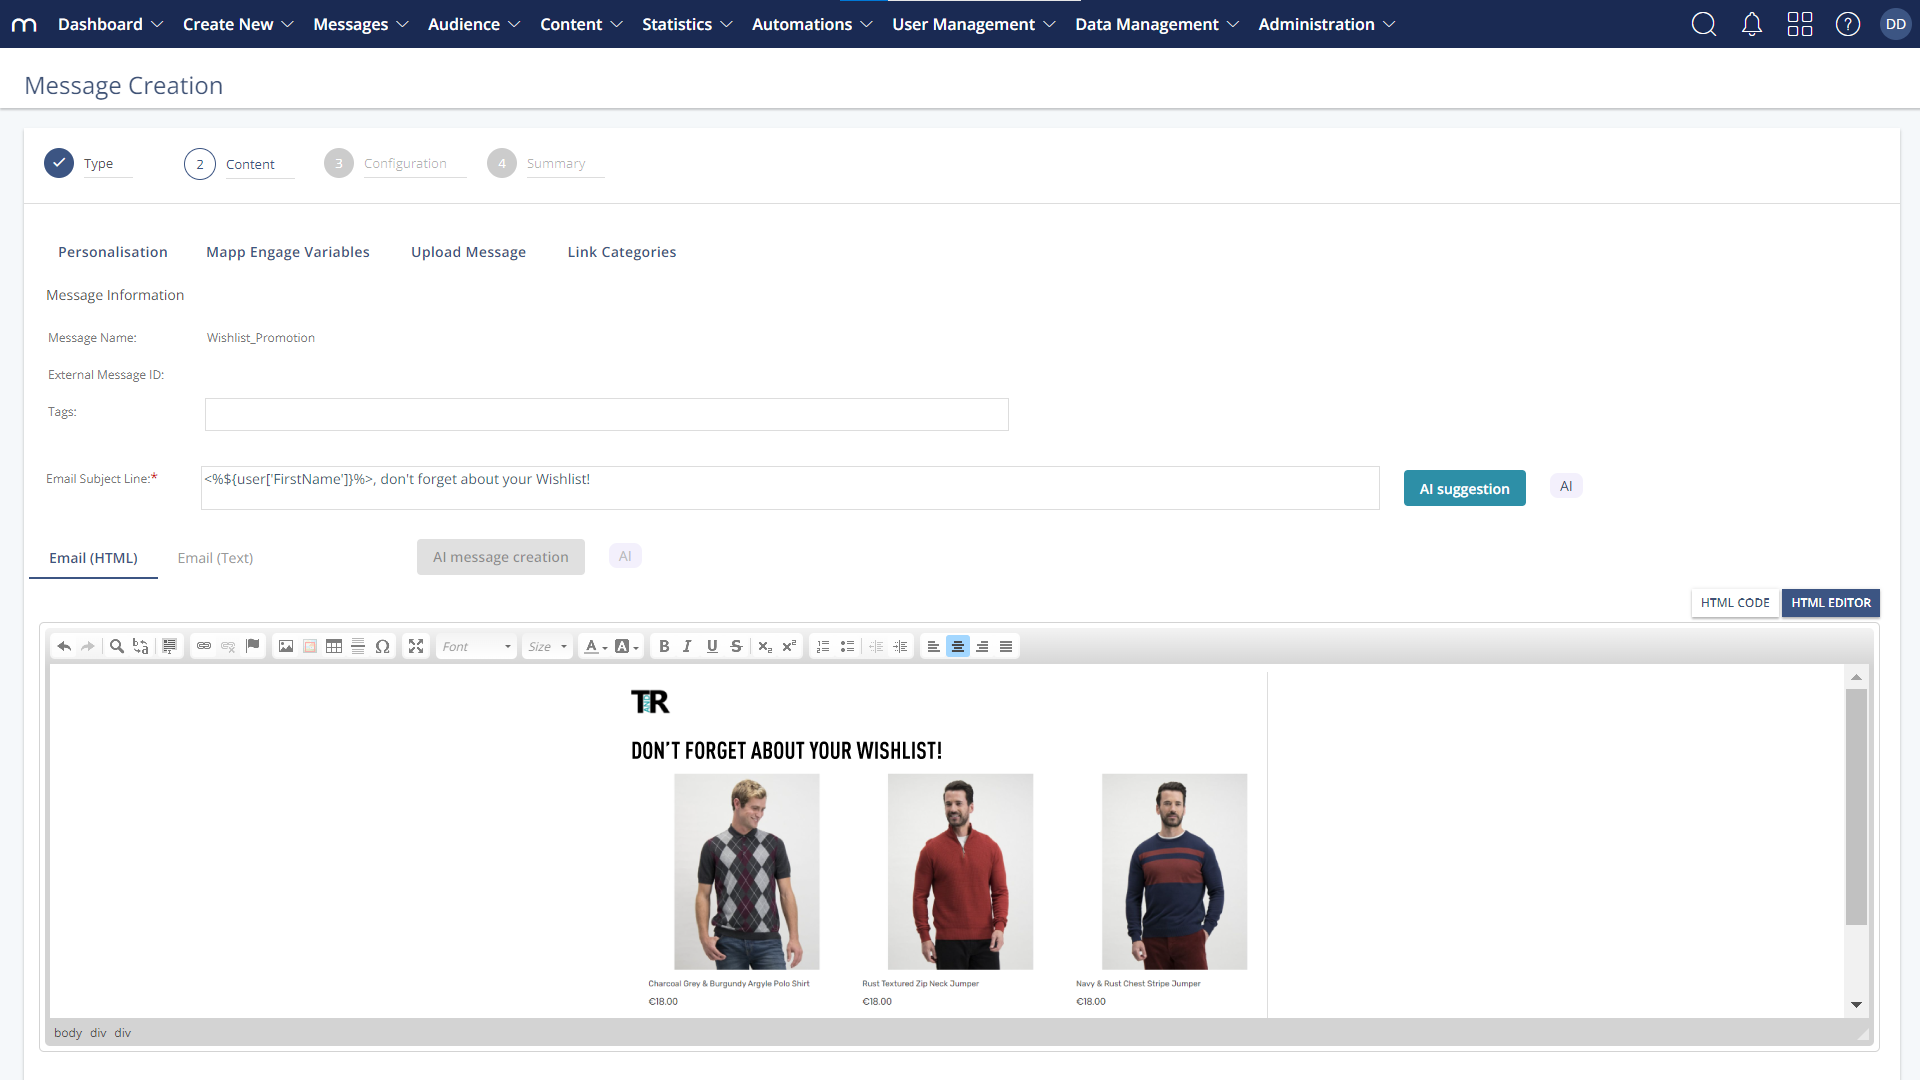
In Mapp Engage, click Create New > Message > Email Message.
Create a message. We call it "Wishlist_Promotion".
Insert a placeholder for the product. When the message is sent, the placeholder is replaced by data from the eCommerce table. For example:
<%ForEach var='wishlist' items="${ecx:sort(user.wishlistProducts, 'timestamp', 'desc')}"%>
     <%${wishlist['productName']}%>
     <%${wishlist['productPrice']}%>
<%/ForEach%>
For more information, see Use related data in a message.
Save the message as a prepared message. You will use it again in the Whiteboard creation step.
All the steps we mention in the video are listed below.
B) Create Whiteboard
In this step, you create the automation that communicates with your contacts about the products on their wishlists.
How does the Whiteboard work?
The Whiteboard begins when a product is added to the Wishlist eCommerce table, i.e. when the contact adds a product to their wishlist.
If they don’t place an order within one hour, they will receive an email.
If they add another product to the wishlist after they have entered the Whiteboard but before the reminder email is sent, it does not reset their progress - they continue with the consecutive Whiteboard steps.
If they place an order, the goal of the Whiteboard will be met and so, no reminder email will be sent. The contact will be removed from the Whiteboard audience.
Adding another product to their wishlist after receiving the reminder email re-enters the contact into the Whiteboard and the cycle starts again.
Create an Event-based whiteboard called "Wishlist_Promotion".
Add the Wishlist Event as the whiteboard trigger. Use the following configuration:
React on: Add
Whiteboard Audience Definition:
Group "All Groups"
Enrolment "Multiple Times". This ensures the contact can reenter the Whiteboard if they add another product to their wishlist.
Event Definition: Any wishlist product
Save the configuration
Add step Wait and define the required timeframe. It is good practice to let some time pass between your contact adding a product to their wishlist and sending a follow-up message. In this example, we added 3 days.
Value: 3
Unit: Day
Click Apply
Add the job Send Email with the following configuration:
Message Selection: Prepared Email Message
Email Message: Wishlist_Promotion
Click Apply
Define a Whiteboard Goal. The Whiteboard goal is met when a transaction is registered for a contact. The contact is removed from the automation, and no message has been sent to them.
Click SETUP.
Event: Transaction Registered
Transaction: Any Transaction
Click Apply
Activate your Whiteboard.