Goal
Learn how to create tags, add them to existing whiteboards, and filter whiteboards using tags.
Background Information
Tags help you organize whiteboards in your Engage system. They make it easier to classify and locate whiteboards, especially when working with large numbers of plans. Examples include grouping whiteboards by campaign type or geographic region.
Procedures
1 Creating a Tag During Whiteboard Creation
Enter the tag in the Tag(s) field while creating the whiteboard.
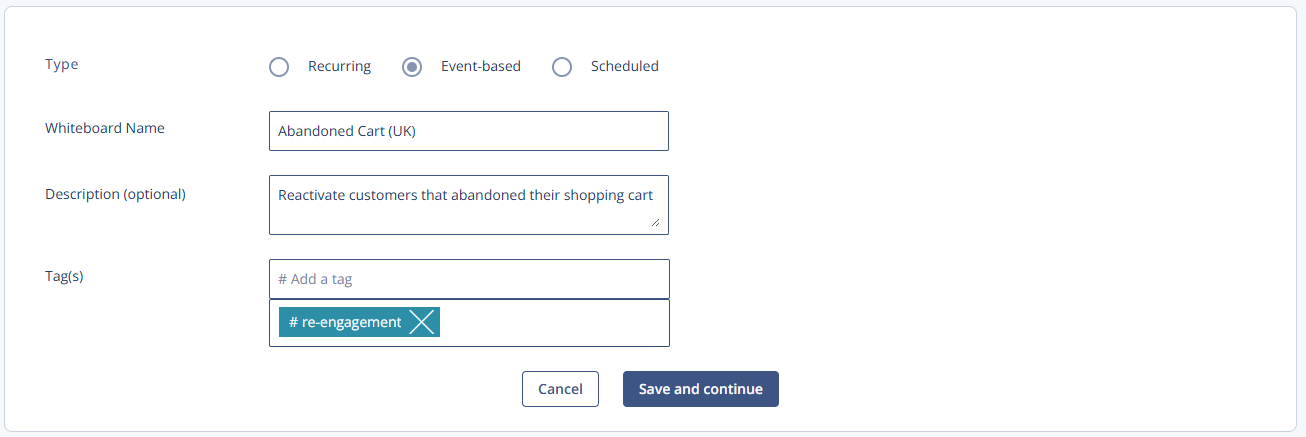
Click Save and continue.
2 Adding a Tag to an Existing Whiteboard
Open the whiteboard you want to edit.
Click the Information icon in the top-right corner of the whiteboard canvas.
Select an existing tag from the list, or add a new one.
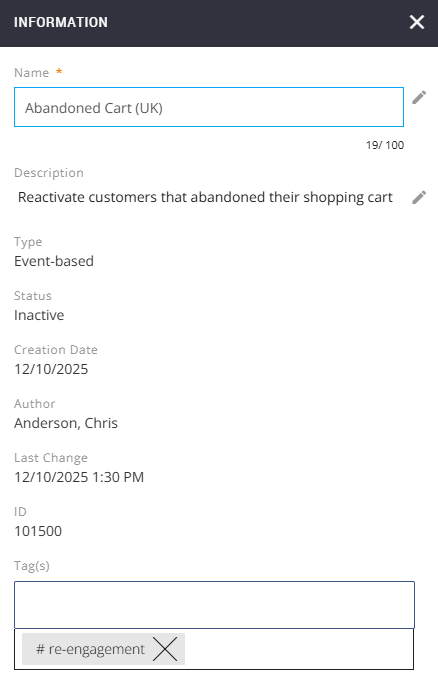
Save the whiteboard.
3 Filtering Whiteboards by Tag
Type the tag in the Tag(s) filter.
Press Enter to apply the filter.

Not seing Tags?
Then you need to adjust your view. Click on the gear icon on the bottom-left of the Whiteboards overview page and select Tags to be displayed:
