Link categories let you analyze click behavior and trigger automations based on which links recipients click. In the Assign Link Categories window you set or change the category of each link in a message by hand. Create the category first (see Link Categories).
Navigation Path
Follow the email creation process until you reach Step 2 – Content.
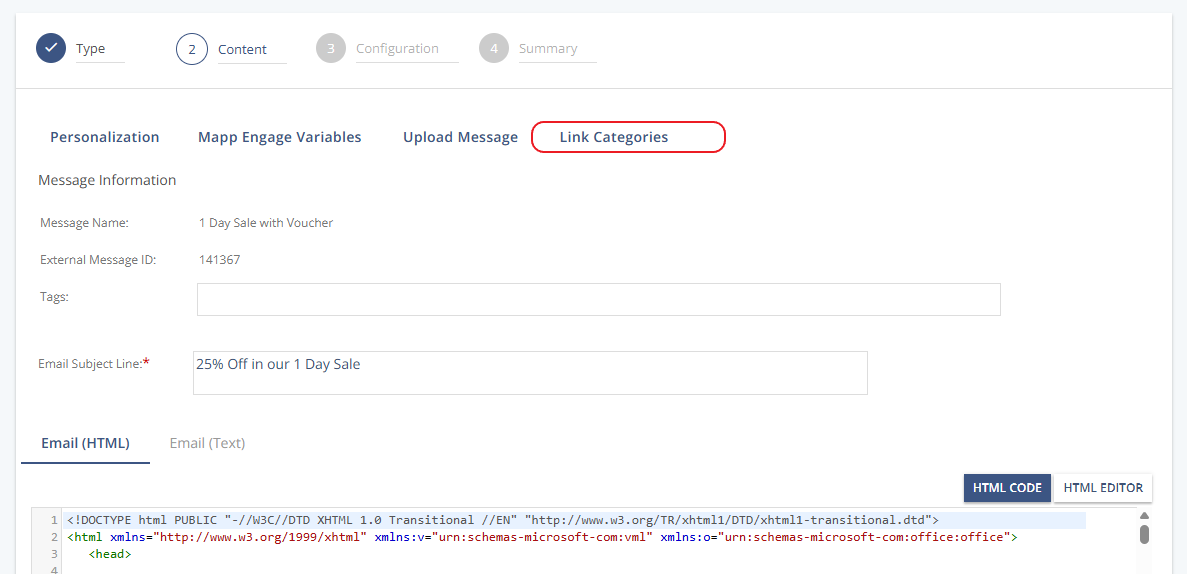
Click Link Categories. The Assign Link Categories window opens and lists every link in the message.
Settings
Setting | Description |
|---|---|
URL | Description | Shows the link destination and the link text recipients see in the message. |
Current Category | Shows the category currently assigned (may have been set automatically via keyword or Regex). |
New Category | Choose a new category from the drop-down list, or:
|
Example:
.png)
Click OK to apply. The links are then treated as manually assigned and can only be changed by hand.
How Automatic and Manual Assignment Interact
If your system assigns categories automatically, the Regex assignment runs once — the first time you open the window. After that, you change categories only by hand.
A manual assignment overrides the automatic one for that link and disables keyword/Regex assignment for it. Later changes to the Regex no longer affect the message.
Only a change to a category's name is applied system-wide.
Warning
Manual assignment of a link category is lost when the message is saved as a draft.