Goal
Create, import, export, or delete group attributes in Mapp Engage.
Background Information
Group attributes apply to all members of a group and always have the same value for every member. You can create group attributes manually in the user interface or by importing them via XML or CSV files.
The group for which you create the attribute must already exist in Mapp Engage.
The value you define applies to all members of the selected group. The maximum length of an attribute value is 2000 characters.
Character Limitations for Attribute Names
When creating attribute names in Mapp Engage, observe the following rules.
Strict limitations
Leading or trailing whitespace is not allowed.
The period (
.) character is not allowed.
General recommendation
Use only alphanumeric ASCII characters, letters a–z, A–Z, and digits 0–9.
Avoid special characters such as `' " - < > : , ; | / & `` to prevent processing issues.
Other rules
Maximum length: 100 characters
Attribute names are not case-sensitive
Creating Group Attributes
You can create a group attribute manually in the user interface.
In the top navigation, click Create New > Attribute, or navigate to Administration > Attributes > Group Attributes.
Click Create new Attribute.
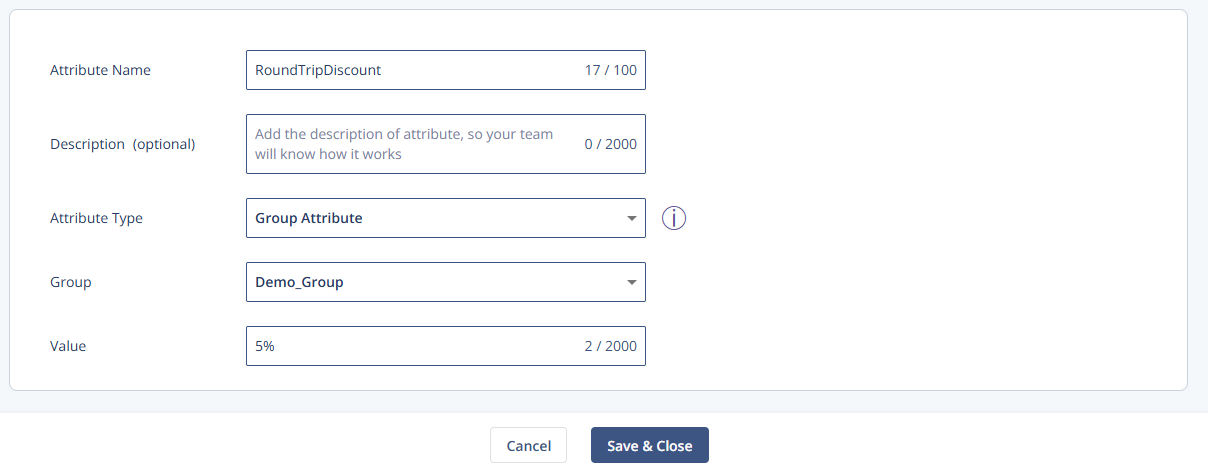
In the Attribute Name field, enter a name for the new attribute.
Select Group Attribute as the Attribute Type if it is not already preselected.
From the Group drop-down list, select the required group.
In the Value field, enter the value for the group attribute.
Click Save & Close.
Importing Group Attributes
You can import group attributes into a group using an XML or CSV file.
Prerequisites
Before importing group attributes, ensure the following:
Existing Group: The target group must already exist in Mapp Engage.
File Format Requirements:
The file should not exceed 1,000 attributes.
Attributes must use the
stringdata type.Null (empty) values are not permitted.
Separate Files: Group attributes must be in a dedicated file separate from contact data imports.
Import Configuration
When importing, you will need to specify the following details:
File: Enter the file path manually or select the file using the Browse button.
File Type: Choose between CSV or XML.
Character Set: Select the file's character encoding. Refer to Character Encoding for more information.
Import Mode: Choose how the imported attributes interact with existing attributes:
Add: Adds new attributes without modifying existing ones.
Replace: Replaces all existing attributes with the new ones.
Delete: Deletes existing attributes before importing the new ones.
Add and Update: Adds new attributes and updates any existing ones. Attributes not in the file remain unchanged.
Update: Updates existing attributes without adding new ones.
Separator: For CSV files, specify the delimiter. The default is a comma (,).
After configuration, click Upload. An email confirmation will be sent upon successful import.
Note
Selecting the correct character set is critical. If the wrong encoding is chosen, the imported data may be displayed incorrectly.
.png)
File Structure Requirements
XML File Format
An XML file must include the following components:
XML Declaration: Specifies the XML version and character encoding.
Tags: Each XML element must have a start tag (
<elementname>) and an end tag (</elementname>).Elements: Use the following elements:
<groupattributes>: Wraps all attribute data. Include the XML namespace attribute (xmlns="http://webservices.ecircle-ag.com/ecm").<groupattribute>: Defines a single attribute.<name>: Specifies the attribute name.Note
If a group attribute with that name exists in the group, Mapp Engage updates the value of the existing attribute. If a group attribute with that name does not exist in the group, Mapp Engage creates a group attribute.
<value>: Specifies the attribute value.
Example
<groupattributes xmlns="http://webservices.ecircle-ag.com/ecm">
    <groupattribute>
        <name>Flight</name>
        <value>Frankfurt - Paris €299</value>
    </groupattribute>
    <groupattribute>
        <name>Hotel</name>
        <value>SuperFrenchLuxuryHotelChain</value>
    </groupattribute>
    <groupattribute>
        <name>Destination</name>
        <value>Explore Paris!</value>
    </groupattribute>
</groupattributes>
CSV File Format
The CSV file header must include the following columns:
"group.PropertyName"Note
If a group attribute with that name exists in the group, Mapp Engage updates the value of the existing attribute. If a group attribute with that name does not exist in the group, Mapp Engage creates a group attribute.
"group.PropertyValue"
Example
"group.PropertyName","group.PropertyValue"
"Flight", "Frankfurt - Paris €299"
"Hotel", "SuperFrenchLuxuryHotelChain"
"Destination", "Paris"
Procedure
Go to Administration > Attributes > Group Attributes.
Select the desired group.
Expand the More Options drop-down and click Import.
Upload the file using the file picker.
Select the file type (CSV or XML).
Specify the character set.
Choose the desired import mode.
(For CSV files) Enter the separator under Advanced Options (default: comma).
Click Upload to begin the import.
A report on the import will appear in the Group Attributes window.
Successfully imported attributes will be displayed.
Exporting Group Attributes
You can export a group attribute as a CSV file.
Go to Administration > Attributes > Group Attributes.
Select the group.
Expand the More Options drop-down list.
Click Export.
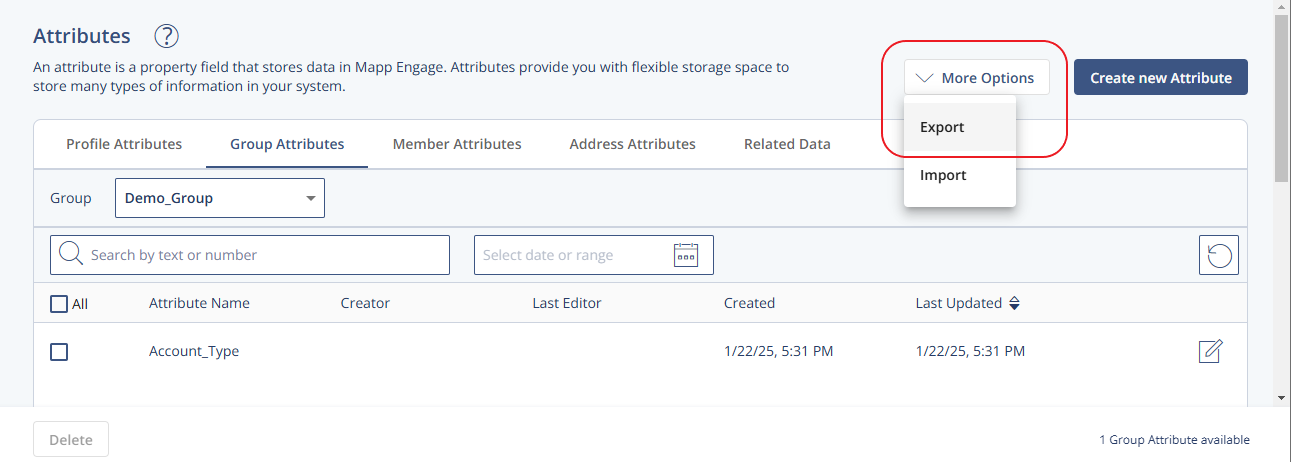
The export starts immediately.
When the export process is complete, you receive an email with a link to download the file.
The exported file is available via this link for 7 days.
Deleting Group Attributes
Navigate to Administration > Attributes > Group Attributes.
Select the required group from the drop-down list.
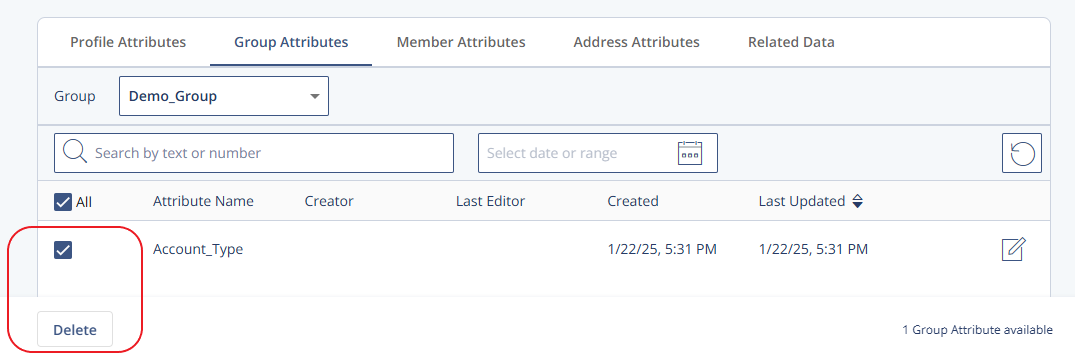
Activate the checkbox next to the attribute you want to delete.
Click Delete at the bottom of the page.