In this section, you will find the steps to integrate the plugin based on the used pixel integration.
Implementation Methods
Background
This plugin lets you generate a media code (mc) from any URL parameters.
Media codes enable you to track campaigns without additional development work. Mapp Intelligence supports campaign tracking based on a single URL parameter. The plugin combines the values of several URL parameters and sends them as one media code. Other systems may use several parameters to describe a single campaign (e.g. the UTM parameters in Google).
Methods and Properties
name
Get the name of the extension.
/**
* @type {string}
*/
wtSmart.extension.campaign_mapper.name;version
Get the version of the extension.
/**
* @type {string}
*/
wtSmart.extension.campaign_mapper.version;config
Set and get the current configuration of the extension.
parameter: Make up a list of the URL parameters, to generate the media code from. The order of parameters determines the composition of the media code. The order of the parameters attached to the URL is irrelevant.
separator: Defines the separator used between each value. Note: a point must be set here to automatically send the various values to the Mapp Intelligence campaign levels.
mediaCode: Define the media code to track as a Mapp Intelligence campaign. First, you must set it up as a campaign channel in the Mapp Intelligence marketing configuration.
replacerRegExp: Filter out parts from the value of the URL parameter.
replacerValue: Enter a string to replace the located term.
findAllParameter: If this parameter is set to "true", only one campaign will be created if all defined URL parameters are found. The value "false" also only creates one campaign, if only single parameters are found. This means that in the third definition ("wt_camp"), a campaign parameter will also be created if only a, b and f are attached to the URL. The parameter would appear as wt.campaignId="[a].[b]....[f]"; setting the points ensures that the campaign values can be correctly assigned to the Mapp Intelligence campaign tree.
/**
* @param {{
* parameter: string[],
* separator: string,
* mediaCode: string,
* [replacerRegExp=/^(?:)$/]: RegExp
* [replacerValue=""]: string,
* [findAllParameter=false]: boolean,
* }[]} [config]
*
* @returns {object}
*/
wtSmart.extension.campaign_mapper.config(config);isActivated
Get the status, if the extension is enabled.
/**
* @returns {boolean}
*/
wtSmart.extension.campaign_mapper.isActivated();activate
Activate the extension.
wtSmart.extension.campaign_mapper.activate();deactivate
Deactivate the extension.
wtSmart.extension.campaign_mapper.deactivate();Examples
URL with one URL parameter: http://www.website.com/?wt_mc=newsletter.2021-5.teaser
URL with several (3 in this case) URL parameters: http://www.website.com/?utm_source=newsletter&utm_campaign=2021-5&utm_content=teaser
URL Example
URL: www.my-destinationpage.com?abc=my.source&def=my.campaign&ghi=my.medium&jkl=my.time
Campaign ID: wt_mc%3Dmy_source.my_campaign.my_medium.my_time
Code Example
// is campaign mapper activated
var isActivated = wtSmart.extension.campaign_mapper.isActivated();
// set campaign mapper config
wtSmart.extension.campaign_mapper.config([{
parameter: ['abc', 'def', 'ghi', 'jkl'],
separator: '.',
mediaCode: 'wt_mc',
replacerValue: '.',
replacerRegExp: /_/g,
findAllParameter: true
}]);
// get campaign mapper config
var campaignMapperConfig = wtSmart.extension.campaign_mapper.config();
// activate campaign mapper
wtSmart.extension.campaign_mapper.activate();
// deactivate campaign mapper
wtSmart.extension.campaign_mapper.deactivate();Open the container to which you want to add the plugin.
Click Add plugin. You will be forwarded to the overview of all available plugins.
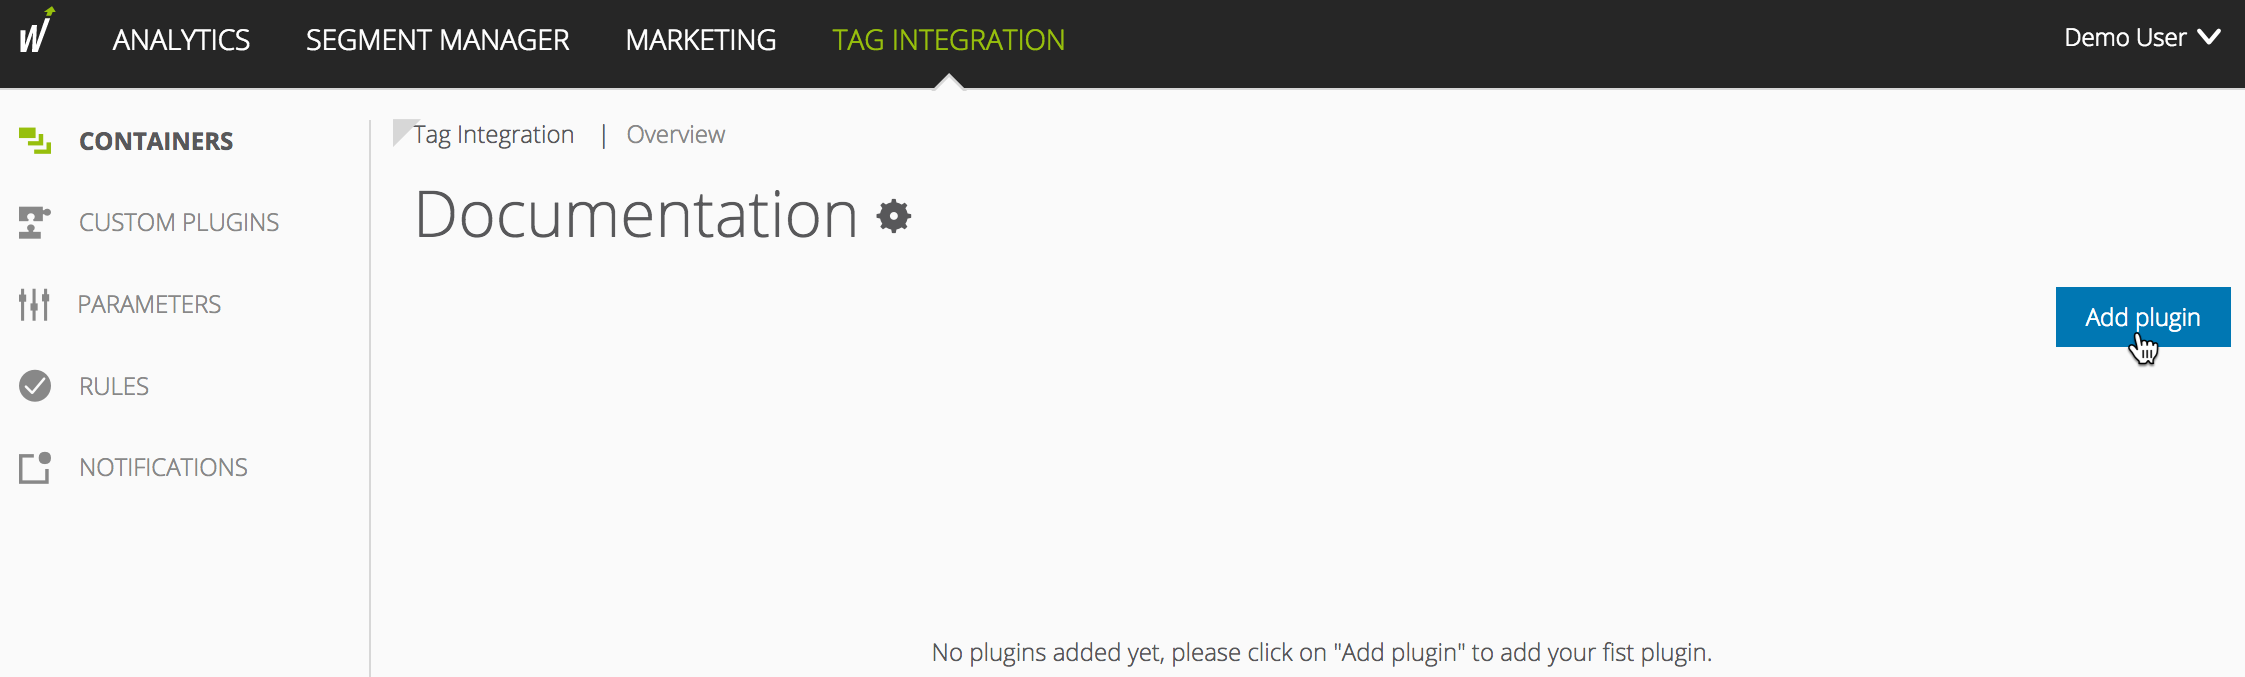
Select the URL Campaign Mapper plugin by clicking on the corresponding button. The plugin configuration dialog opens.
Click + Configuration to add a new configuration.
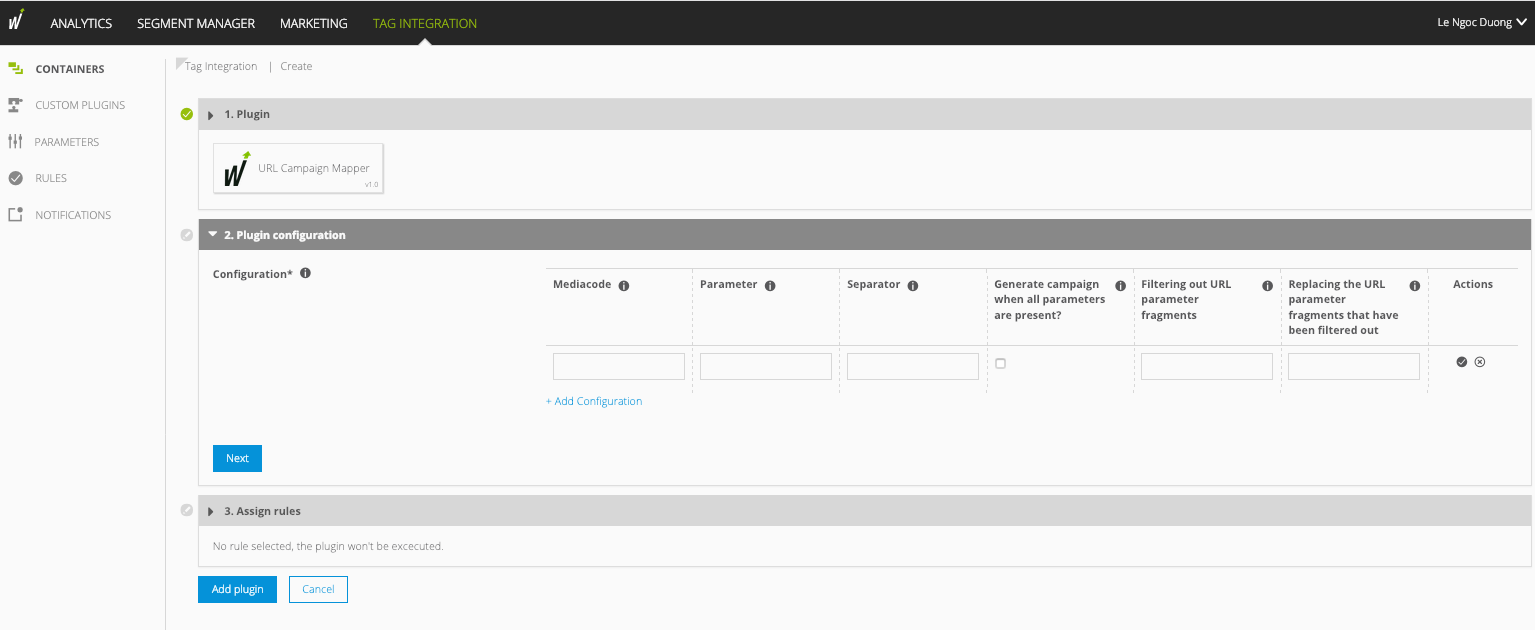
Make the following settings:
Parameter
Description
Media Code
Define the media code that you want to enter as a Mapp Intelligence campaign. You must set this as the campaign channel in the marketing configuration.
Parameter
Specify a semicolon-separated list of URL parameters from which the media code value is to be generated. The order of the parameters determines the composition of the media code. The order of the parameters within the URL is not relevant.
Separator
Enter the separator between the individual values. To automatically transfer the different values to the Mapp Intelligence campaign levels, use a dot here.
Generate campaign when all parameters are present
Active = A campaign will only be generated if all defined URL parameters are found.
Deactive = A campaign is also generated if only individual parameters are available. This means that a campaign parameter is generated in the third definition ("wt_camp") even if, for example, only a, b and f are appended to the URL. The parameter would look like this: "wt.campaignId="[a].[b]...[f]".
Using the points (".") ensures that the campaign values can be placed correctly in the corresponding campaign channels.
Filtering out URL parameter fragments
With this parameter, you can remove certain parts from the URL parameters and replace them with another string.
Replacing the URL parameter fragments
Enter a string to replace the located term.
Example
You can replace all "." with "_". This is helpful if, for example, "." already exists in the URL parameters but you need to replace them because the configured campaign structure is different.
Original URL parameters
Pixel parameter generated by the plugin
Click Next to add rules.
Click Add plugin. The plugin is added to the container.
In the last step, click Publish.

Follow these steps to integrate the plugin:
Download the JavaScript file.
On your website, insert the downloaded script before the script "webtrekk_v4.min.js".
Example<script type="text/javascript" src="path/to/file/webtrekk_urlCampaignMapper.min.js"></script> <script type="text/javascript" src="path/to/file/webtrekk_v4.min.js"></script>In the integrated script ("webtrekk_urlCampaignMapper.min.js"), you will find the configuration array urlCampaignMapper in which you define your necessary information.
You can define several configurations. These are processed in the specified order. The first applicable definition is used, following definitions are ignored. Each configuration object is made up as follows:Example
window.wt_urlCampaignMapper = function(conf) { if (conf.mode === "page" && conf.type === "before" && conf.requestCounter === 1) { var urlCampaignMapper = [ { "parameter": "abc;def;ghi;jkl", "separator": ".", "mediaCode": "wt_mc", "replacerValue": ".", "findAllParameter": true, "replacerRegExp": "_" }, { "parameter": "mno;pqr;stu;vwx", "separator": ".", "mediaCode": "wt_cc" }, { "parameter": "a;b;c;d;e;f", "separator": ".", "mediaCode": "wt_camp" } ];Parameter
Description
parameter
Specify a semicolon-separated list of URL parameters from which the media code value is to be generated. The order of the parameters determines the composition of the media code. The order of the parameters within the URL is not relevant.
separator
Enter the separator between the individual values. To automatically transfer the different values to the Mapp Intelligence campaign levels, use a dot here.
mediaCode
Define the media code that you want to enter as a Mapp Intelligence campaign. You must set this as the campaign channel in the Mapp Q3 marketing configuration.
replacerRegExp
With this parameter, you can remove certain parts from the URL parameters and replace them with another string (see "replacerValue").
replacerValue
Enter a string to replace the located term.
Example
You can replace all "." with "_". This is helpful if, for example, "." already exists in the URL parameters but you need to replace them because the configured campaign structure is different.
Original URL parameters
index.html?abc=1.2.3&def=456&ghi=789&jkl=012Pixel parameter generated by the plugin
wt_mc%3D1_2_3.456.789.012
findAllParameter
true = A campaign will only be generated if all defined URL parameters are found.
false = A campaign is also generated if only individual parameters are available. This means that a campaign parameter is generated in the third definition ("wt_camp") even if, for example, only a, b and f are appended to the URL. The parameter would look like this: "wt.campaignId="[a].[b]...[f]".
Using the points (".") ensures that the campaign values can be placed correctly in the corresponding campaign channels.
First, store the configured function wt_urlCampaignMapper or the script file globally so that it can be found under the object "window".
You can use the parameter "executePluginFunction" in the tracking pixel to activate the plugin functionality. This can be set either in the configuration variable (webtrekkConfig) or as a parameter of the pixel object.If you want to measure the data on all your pages, we recommend the global integration. The page-specific configuration is used for the measurement of individual pages. Mapp recommends the integration on all pages.
Example global configuration
var webtrekkConfig = { trackId: "111111111111111", trackDomain: "track.mapp.net", domain: "www.domain.tld", executePluginFunction: "wt_urlCampaignMapper" };Example page-specific configuration
var wt = new webtrekkV3(); wt.contentId = "en.home"; wt.executePluginFunction = "wt_urlCampaignMapper"; wt.sendinfo();
The data collection is started as soon as the plugin is activated.