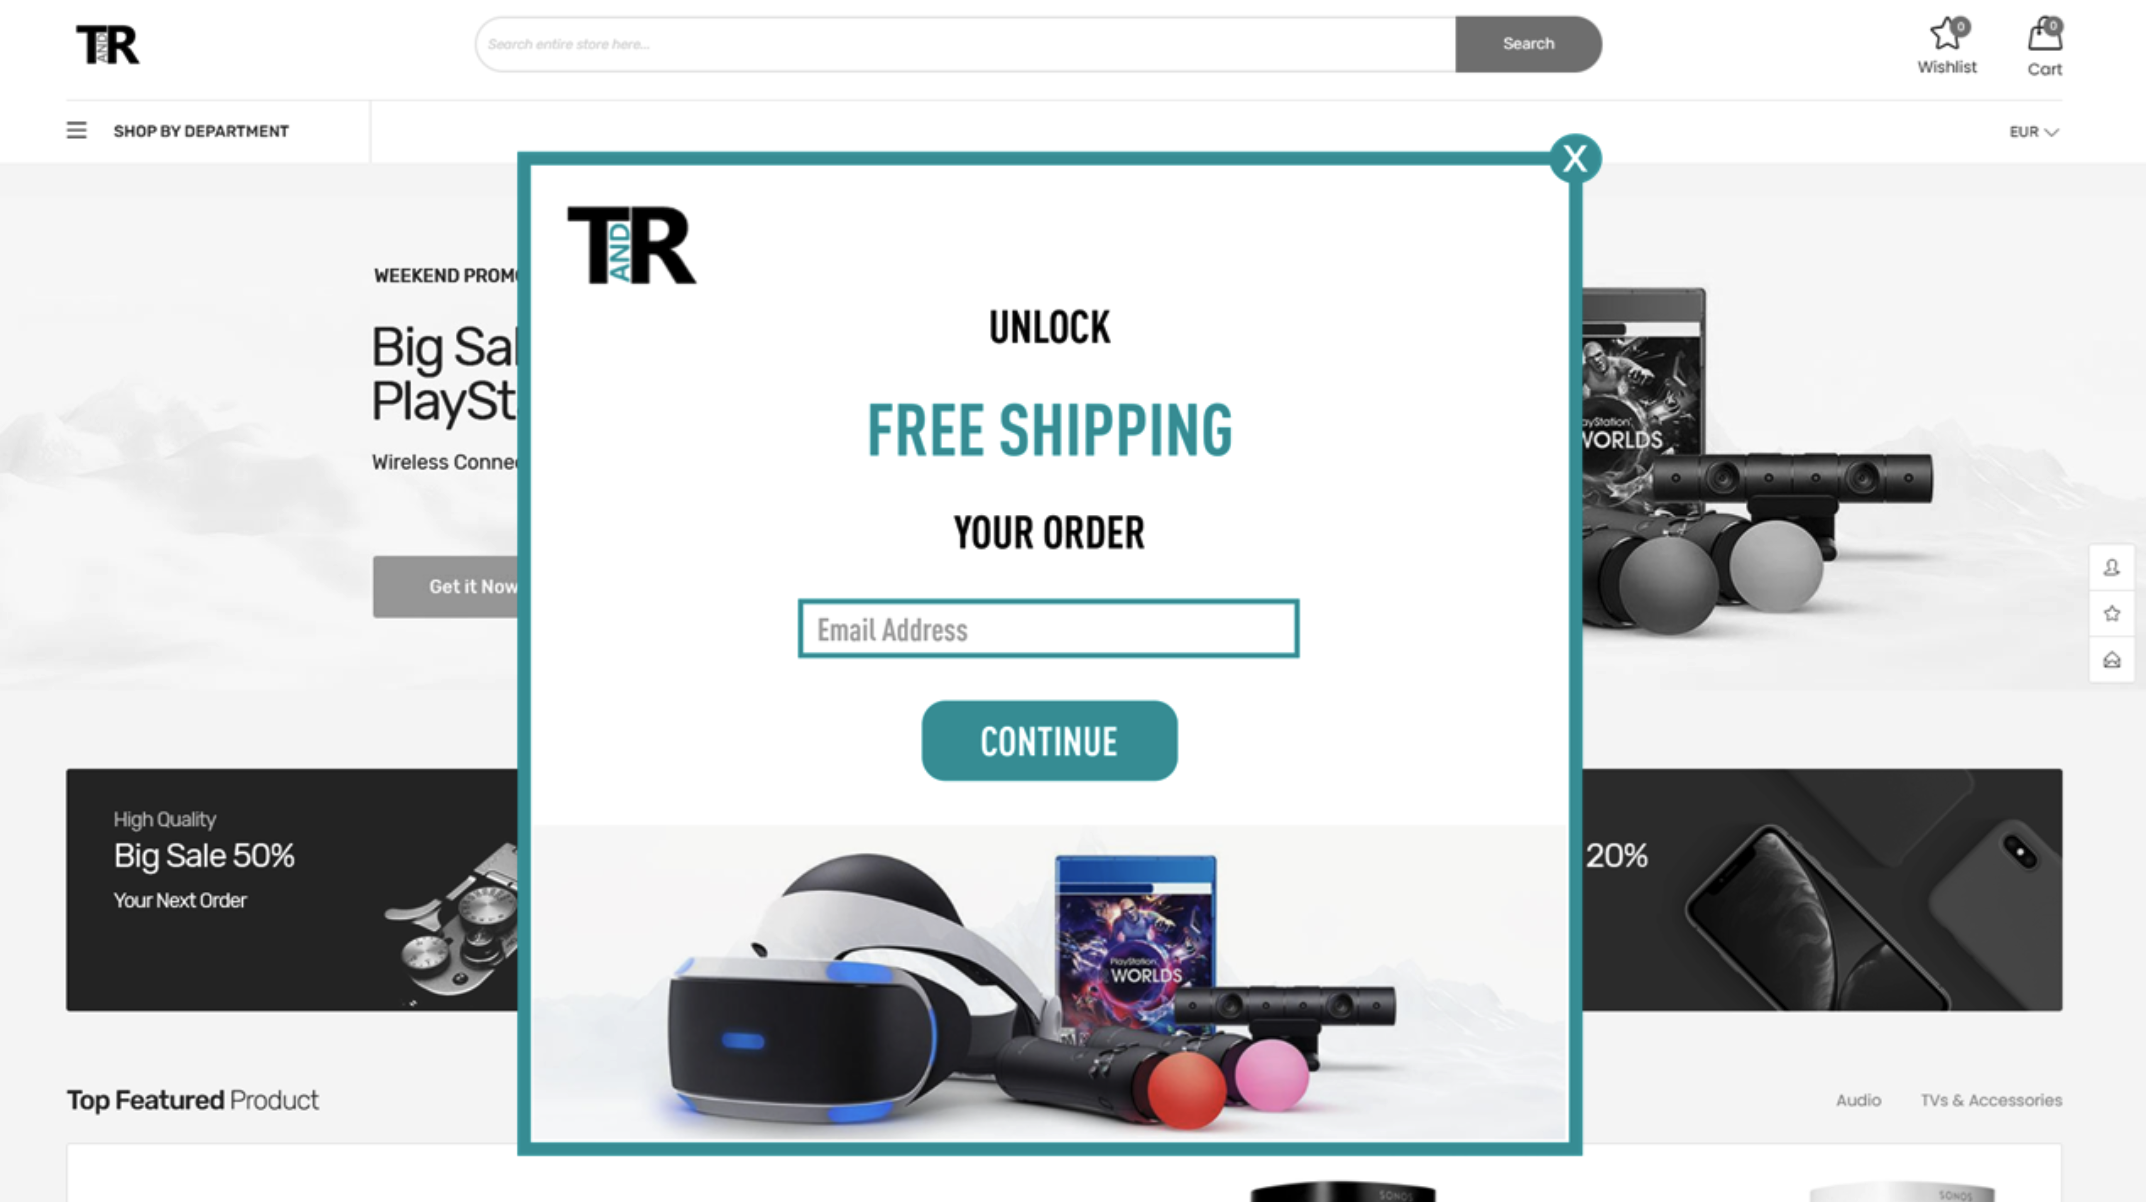
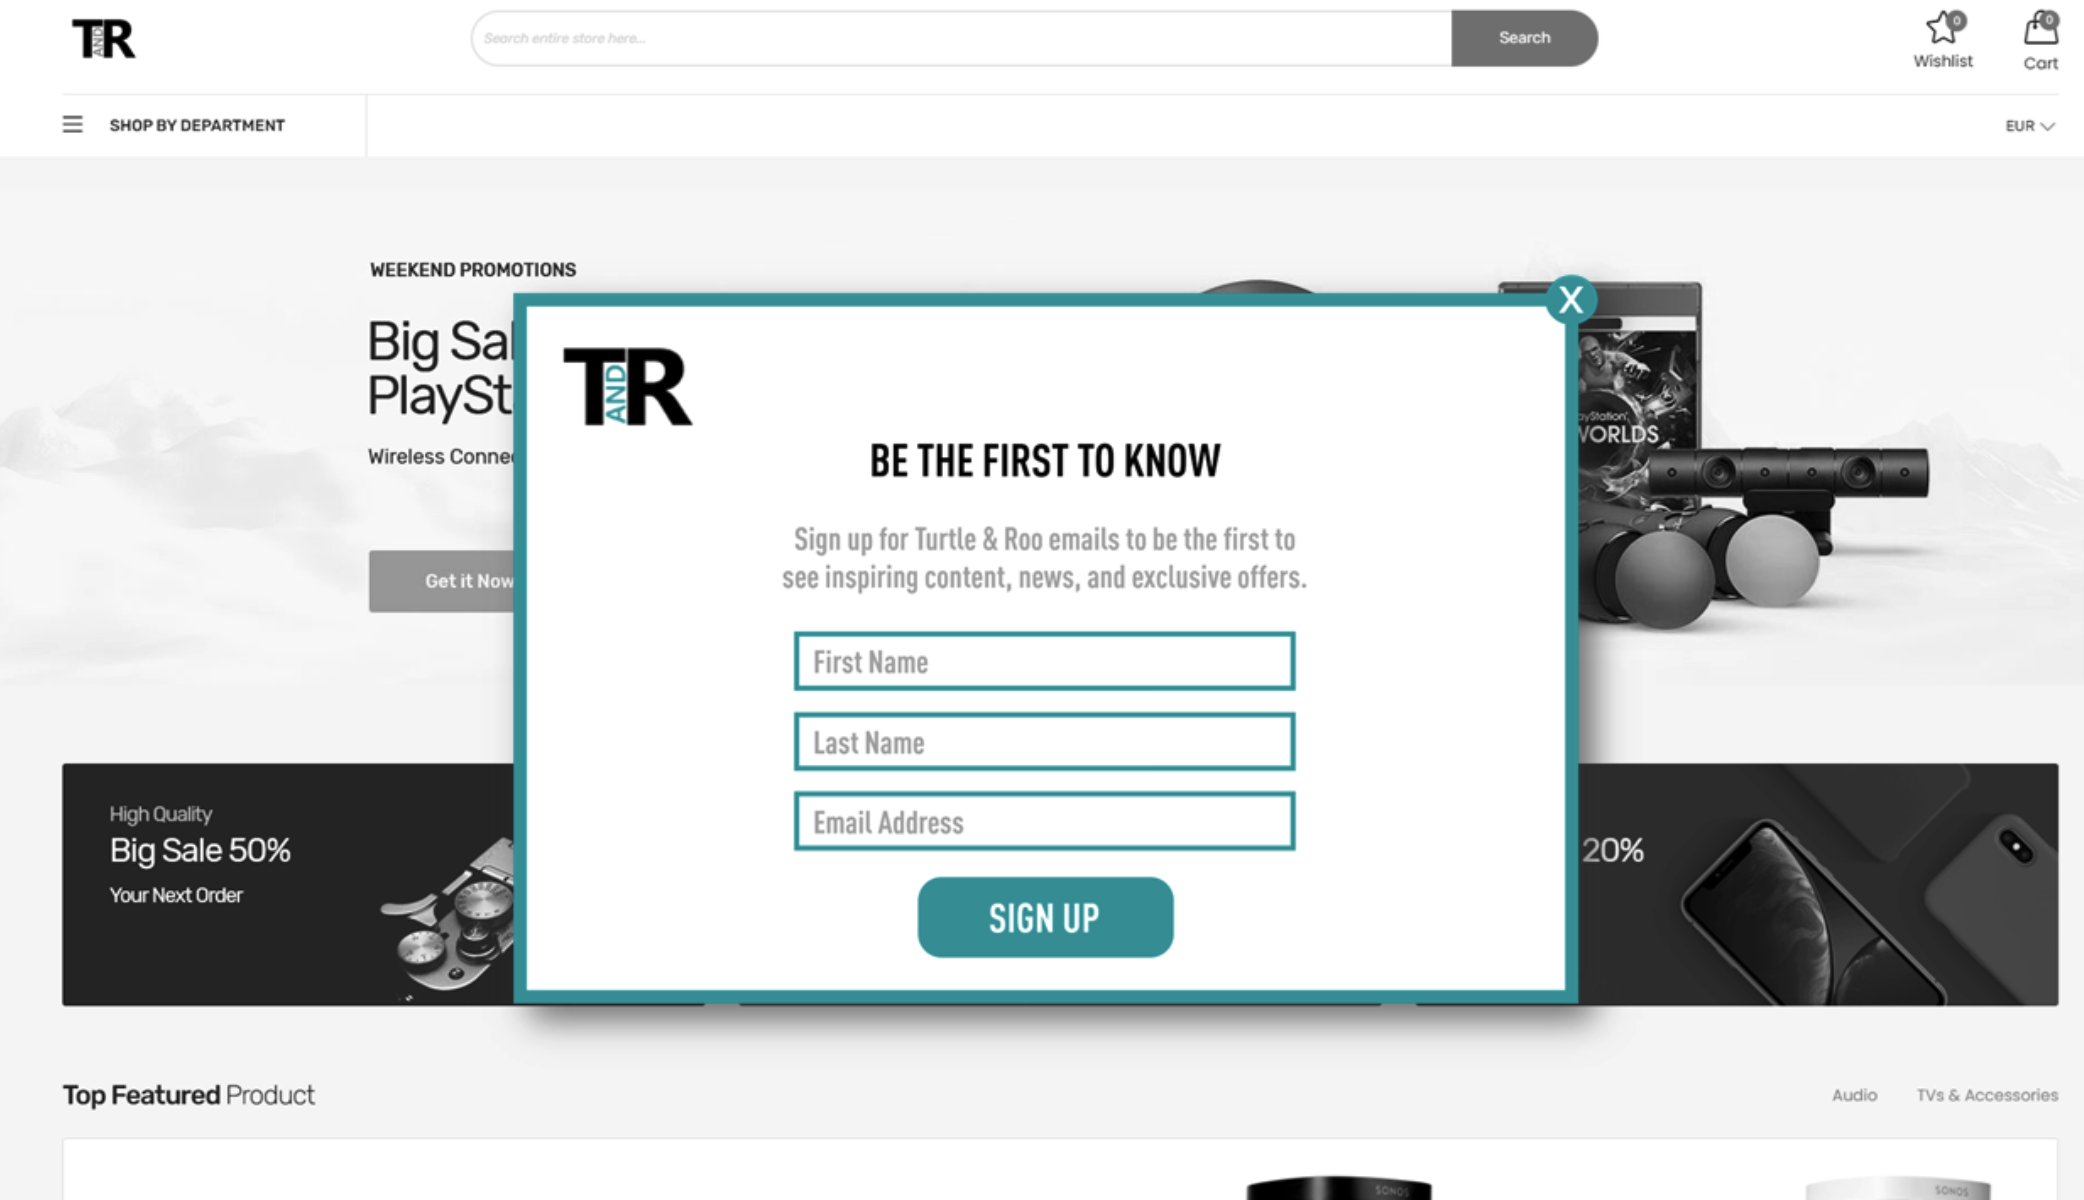
Layers are dynamic overlay elements that can be displayed on your website based on specific triggers, such as user behaviors or defined events. Unlike Banners or Custom HTML, Layers are typically used with real-time triggers to appear at the right moment. However, they can also be displayed without a specific real-time behavior, depending on the configuration.
Looking for a structured learning path?
Learn step by step in our Academy Course: Mapp Intelligence - Onsite Layers.
Typical Use Cases for Layers
Layers are triggered dynamically by user behaviors or specific conditions. Common examples include:
Exit Intent Notifications: Display a pop-up encouraging users to subscribe to a newsletter or offering a discount when they attempt to leave the site.

Lead Capture: collect visitor information with sign-up forms for newsletters or promotions.

Inactivity Prompts: Show a layer with a support message or a special offer when users remain idle on a page for a certain time.
Threshold-Based Offers: Trigger a layer with a discount or upsell message when a user adds products exceeding a specific value to their cart.
Steps to Prepare and Create a Layer Campaign
Prepare the Foundation
Before creating a Layer campaign, ensure the following foundational elements are set up:
Host Supporting Assets
Store your Layer on a publicly accessible server. This is required for the banner to be displayed in campaigns.
Create a New Layer Configuration
Navigate to Contents > Layers and select Create a New Layer. Provide the following details:
Title: Enter a unique name for the layer for easy identification.
Description: Add a short description of the layer’s purpose or content.
URL: Specify the URL where the layer’s content is hosted.
Use the preview to verify:The layer displays correctly.
The URL works as expected.
Important
The preview is not indicative of the final placement or scaling on your website. These settings are configured separately during campaign setup
.png)
Step 1: Create the Layer Campaign
After preparing the foundation, follow these steps to create and launch your Layer campaign.
Navigate to Marketing Automation > Campaigns and click Create a New Campaign.
Define the campaign elements:
Target Group: Select the audience segment you want to target. More information here.
Content: Choose the layer content you prepared earlier.
Frequency Cap: (Optional) Limit how often the layer is displayed to the same user.
Placement: Select the appropriate placement where the layer will appear. More information here.
Save and activate your campaign.
Step 2: Track Performance in Mapp Intelligence
The analysis of performance metrics is available under the Campaigns > Performance tab. Here, you can view detailed metrics for your campaigns. For advanced analyses, click Explore in Intelligence to access additional metrics, apply filters, and perform deeper custom evaluations.
Mapp Intelligence automatically tracks key metrics for layers:
Views: How often the layer is displayed.
Conversions: Tracks the number of desired user actions (e.g., purchases, sign-ups) completed.
Engagement: Subsequent page impressions after a user interacts with the layer.
(Note: Engagement tracking stops when the session ends or another layer/campaign is clicked.)
Advanced Tracking via Campaigns
To gather more detailed insights about layer interactions, ensure the layer includes a Mapp Intelligence tracking pixel. This allows you to measure:
Button clicks within the layer.
Form submissions.
User behavior metrics such as scroll depth and time spent engaging with the layer.
Managing Existing Layers
To monitor and manage your layers:
Navigate to Contents > Layers to view, edit, or delete existing configurations.
Use this area to:
Review performance metrics for individual layers.
Adjust content or behavior settings to optimize engagement.
.png)