Implementation Methods
Integrate the Product Advertised Plugin into the container in which the webpage to be measured is located.
To add plugins to the desired container, proceed as follows:
In the container overview, select the required container by clicking the corresponding entry.
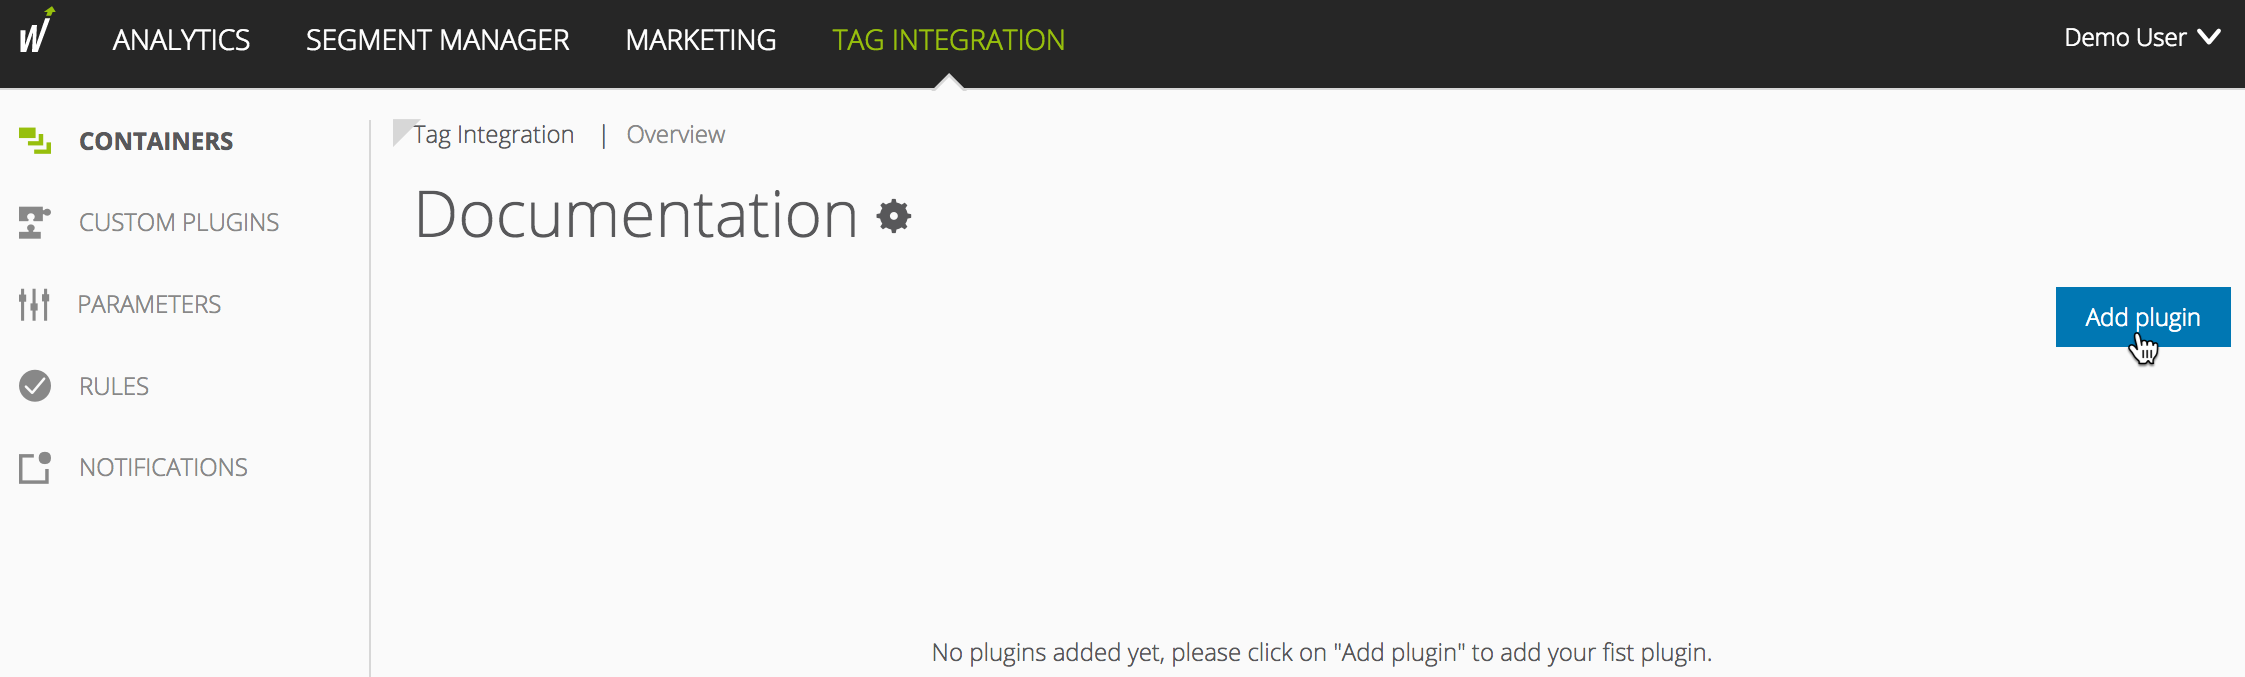
Click [Add Plugin]. You will be forwarded to the overview of all available plugins.
Select "Product Advertised" by clicking the appropriate button. The plugin configuration dialog opens.
Now enter the following information:
Parameter
Description
Product status
From the dropdown menu, specify the product status at which the information should be sent to Mapp.
The values correspond to the values of the pixel parameter wt.productStatus.
Then click [Next].
In the "Assign rules" area, you define the page areas on which the measurement is to be carried out.
Then click [Add plugin].
Finally, click [Publish] to publish your container including the newly added Product Advertised Plugin.
Since version 3.2.x of the Mapp Intelligence tracking script, the use of plugins is supported. A plugin is all JavaScript functions that are transferred to the Mapp pixel.
To integrate the Product Advertised Plugin, you need the JavaScript file "productAdvertised.min.js."
Download the JavaScript file.
In the JavaScript file "productAdvertised.min.js," make the following adjustments:
Examplevar wt_productAdvertised = function(conf) { if (conf.mode === "page" && conf.type === "before") { this .productAdvertisedAction = "view;add;conf"; // ... } };Parameter
Description
productAdvertisedAction
Specify the product status at which the information should be sent to Mapp.
The values correspond to the values of the Mapp pixel parameter wt.productStatus.
Include the script file in your website in advance so that it provides the method "wt_productAdvertised" under the object "window".
The parameter "executePluginFunction" is used for the activation itself. This can be set either in the configuration variable (webtrekkConfig) in the global pixel file (for example, "webtrekk_v4.js") or as a parameter of a page-specific pixel object.
Example global configuration
var webtrekkConfig = {
    trackId: "111111111111111",
    trackDomain: "track.webtrekk.net",
    domain: "www.website.com",
	executePluginFunction: "wt_productAdvertised"
};
Example page-specific configuration
var wt = new webtrekkV3();
wt.contentId = "en.home";
wt.executePluginFunction = "wt_productAdvertised";
wt.sendinfo();