Use Case
Announce a limited-time flash sale to your website subscribers via the Web Push channel in Mapp Engage.
Prerequisites
Active Firebase account.
Web Push is activated on your website.
FCM JSON key is available for the website channel.
Procedure
1 Set up a Web Push Channel in Mapp Engage
Go to Administration > Channels > Web.
Select Create Web Channel.
Enter a unique Name for the channel.
Provide the FCM JSON key. The following video shows how to generate the Key in Firebase.
For more information, see Firebase Cloud Messaging.
Click Next to review the Summary.
Click Activate (if available), then Save.
If a valid FCM JSON key is provided, you can activate the channel on the Summary step before saving.
If the FCM JSON key is missing or invalid, Activate is unavailable; you can only Save or Close the process.
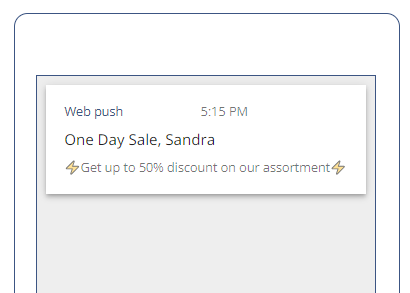
2 Compose the Web Push Notification
Go to Create New > Message > Web Push Notification.
Enter a unique Name (e.g., “Flash Sale”) and click Next.
Choose the Website channel you created.
.png)
Add the Title and Message body.
.png "image(611).png")
(Optional) Add an Icon by uploading one or selecting from the content store.
Set the Link (website to open on click).

Review the Preview and click Next.
3 Schedule and target
Select By time and set the Delivery date, time, and Time zone for when the flash sale starts.

Choose the Target audience (e.g., All opted-in users).
Click Next to review the message and its settings.
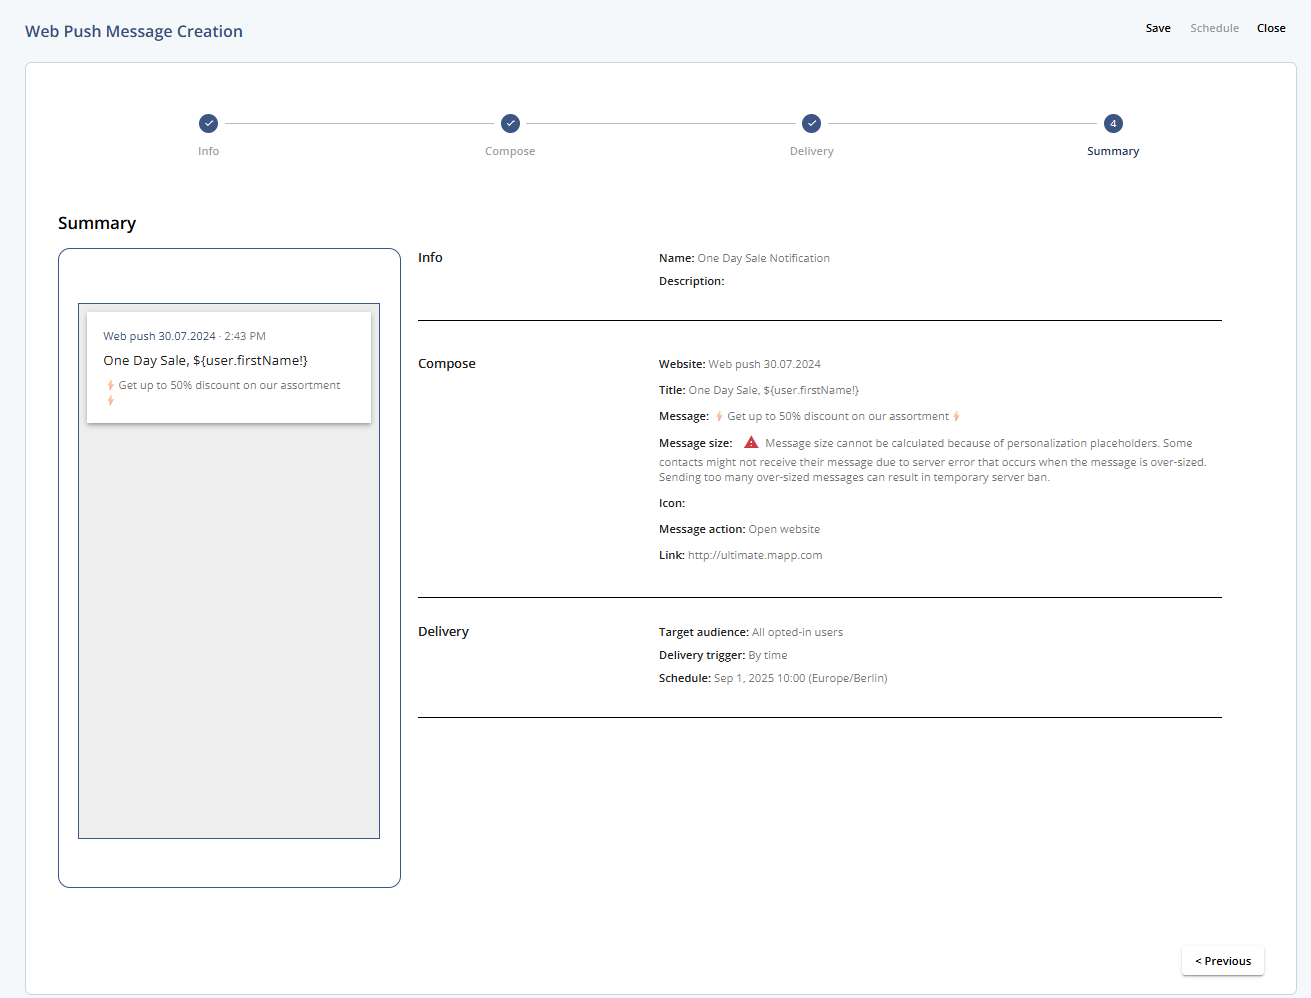
Click Schedule. The status on the overview page will update to Completed after sending.
4 Monitor Message Statistics
Go to Statistics > Group Messages > Web Push Notifications.
Click View statistics in the context menu in the Actions column.