Implementation Methods
The plugin is available in Tag Integration. Alternatively, you can integrate it in the standard pixel as a separate JavaScript file.
Integrate the Web Push plugin into the container in which the webpage to be measured is located.
To add plugins to the desired container, proceed as follows:
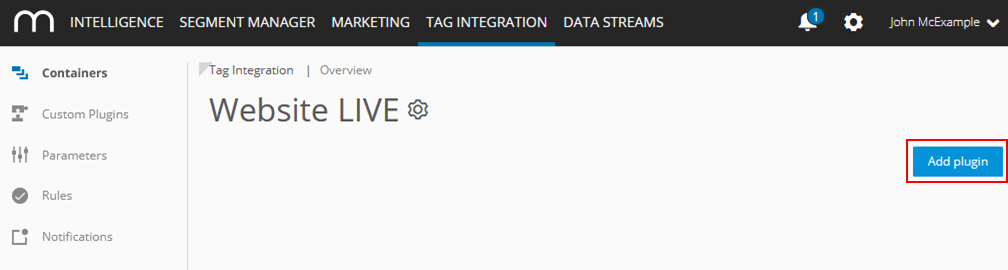
In the container overview, select the required container by clicking the corresponding entry.
Click Add Plugin.
Select Web Push by clicking the appropriate button.
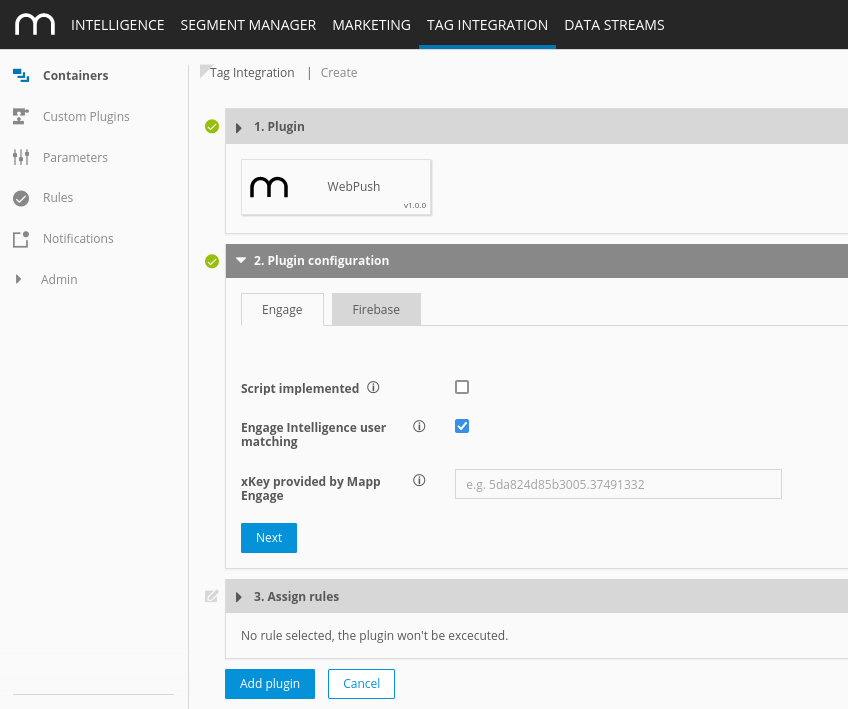
Now enter the following information:
Parameter
Description
Engage
Service URL
Provide your Service URL:
eu_nbg: jamie.g.shortest-route.com/charon
eu_muc: jamie.h.shortest-route.com/charon
us_muc: jamie.c.shortest-route.com/charon
please see this page for more information on clusters.
Script implemented
Enable if you already use Mapp Engage Web Push functionality. You do not need to provide the xKey or additional Firebase configurations in that case.
Engage Intelligence user matching
Disable if you do not want to share user information between Mapp Engage and Mapp Intelligence. If disabled, segment exchange in between Engage and Intelligence based on user interactions on your website will not be possible.
xKey provided by Mapp Engage
Provide the xKey as given in your Mapp Engage Account. Please note that you only need to provide it if you are not already using the Mapp Engage Web Push script. You can find this in your Engage account on Administration > Channels > Websites > Channel Info > SDK Key.
Firebase
Include necessary fire scripts
Please leave this enabled if you have not yet included the necessary firebase scripts on your website.
URL to your service worker
Please add the URL to the service worker you use for your push notifications (see Step 1: Configuration Firebase and Service Worker).
apiKey
Please include as specified in your firebase console in project settings > general > my app > configuration.
authDomain
projectId
storageBucket
messagingSenderId
appId
measurementId
Watch the following video for more details:
Click Next.
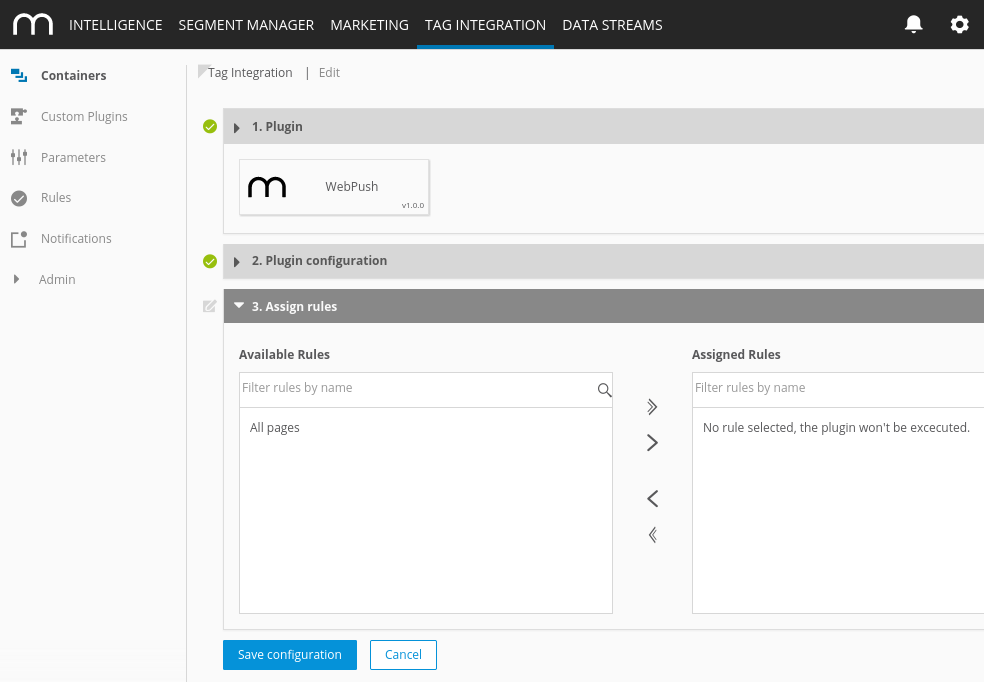
In the Assign rules area, you define the page areas on which the measurement is to be carried out.
Then click Add plugin.
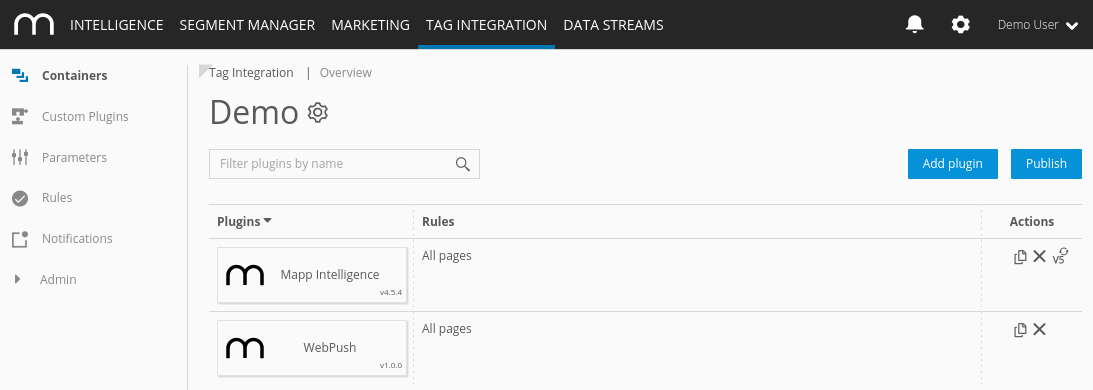
Finally, click Publish to publish your container including the newly added WebPush plugin.
Since version 3.2.x of the Mapp tracking script, the use of plugins is supported. For more information see our information on the tracking page here. A plugin is all JavaScript functions that are transferred to the Mapp pixel.
For the integration of the Web Push plugin, you need the JavaScript file "pixel-webpush.min.js."
Download the JavaScript file pixel-webpush.min.js.
In the JavaScript file make the following adjustments:
Example(function() { var wt_webpushConfig = window.wt_webpushConfig || { serviceURL: 'jamie.c.shortest-route.com/charon', webpushScriptIncluded: false, useUserMatching: true, xKey: '<<Engage xKey>>', serviceWorkerScript: '/js/firebase-messaging-sw.js', includeFirebaseScripts: true, firebaseConfig: { apiKey: '<<Firebase apiKey>>', authDomain: '<<Firebase authDomain>>', projectId: '<<Firebase projectId>>', storageBucket: '<<Firebase storageBucket>>', messagingSenderId: '<<Firebase messagingSenderId>>', appId: '<<Firebase appId>>', measurementId: '<<Firebase measurementId>>' } }; /* ... */ })();Parameter
Description
serviceURL
Provide your Service URL:
eu_nbg: jamie.g.shortest-route.com/charon
eu_muc: jamie.h.shortest-route.com/charon
us_muc: jamie.c.shortest-route.com/charon
webpushScriptIncluded
Enable if you already use Mapp Engage Web Push functionality. You do not need to provide the xKey or additional Firebase configurations in that case.
useUserMatching
Disable if you do not want to share user information between Mapp Engage and Mapp Intelligence. If disabled, segment exchange in between Engage and Intelligence based on user interactions on your website will not be possible.
xKey
Provide the xKey as given in your Mapp Engage account. Please note that you only need to provide it if you are not already using the Mapp Engage Web Push script. You can find this in your Engage account on Administration > Channels > Websites > Channel Info > SDK Key.
serviceWorkerScript
Please add the URL to the service worker you use for your push notifications (see Step 1: Configuration Firebase and Service Worker).
includeFirebaseScripts
Please leave this enabled if you have not yet included the necessary firebase scripts on your website.
apiKey
Please include as specified in your firebase console in project settings > general > my app > configuration.
authDomain
projectId
storageBucket
messagingSenderId
appId
measurementId
Watch the following video for more details:
Include the script file in your website before executing any other JavaScript code related to the Mapp Intelligence tracking pixel, so that it provides the method "wt_webpush" under the object "window".
The parameter "executePluginFunction" is used for the activation itself. This can be set either in the configuration variable (webtrekkConfig) in the global pixel file (for example, "webtrekk_v4.js") or as a parameter of a page-specific pixel object.
Example global configuration
var webtrekkConfig = { trackId: "111111111111111", trackDomain: "track.webtrekk.net", domain: "www.website.com", executePluginFunction: "wt_webpush" };Example page-specific configuration
var wt = new webtrekkV3(); wt.contentId = "en.home"; wt.executePluginFunction = "wt_webpush"; wt.sendinfo();If you want to measure the data on all your pages, we recommend global integration. The page-specific configuration is used for the measurement of individual pages.