The Time Series view in Mapp Intelligence allows you to analyze how metrics change over a selected period. This analysis is useful for identifying trends, detecting patterns, and understanding how changes on your site impact user behavior over time.
Key Features
Flexible Time Intervals: You can choose between different time intervals to visualize your data:
Hours
Days
Weeks
Months
Quarters
Years
These intervals help you analyze data with the granularity that best fits your business needs.
Automatic Metric Selection: The Time Series view automatically uses the metrics you’ve selected in the List view. However, you need to manually activate which metrics you want to display in the Time Series view. This flexibility allows you to focus on the most relevant metrics for your analysis.
Element Selection: You can specify which elements from the List view you want to analyze over time. For example, in a Pages Analysis, you can select specific pages to track their performance.
There are two ways to select elements:
Manual Selection: Choose the elements you are specifically interested in.
Dynamic Top X Selection: Automatically select the top X elements based on the metric or formula your analysis is sorted by.
This is especially useful for saved reports, as the top elements may change over time. For example, you might always want to track the top 5 pages to see how their performance changes over time.
Example: Using Time Series in Pages Analysis
To demonstrate how to use the Time Series view, let’s take a practical example using the Pages Analysis:
Scenario: You want to analyze how traffic to 2 pages changes over time.
Step-by-Step Guide
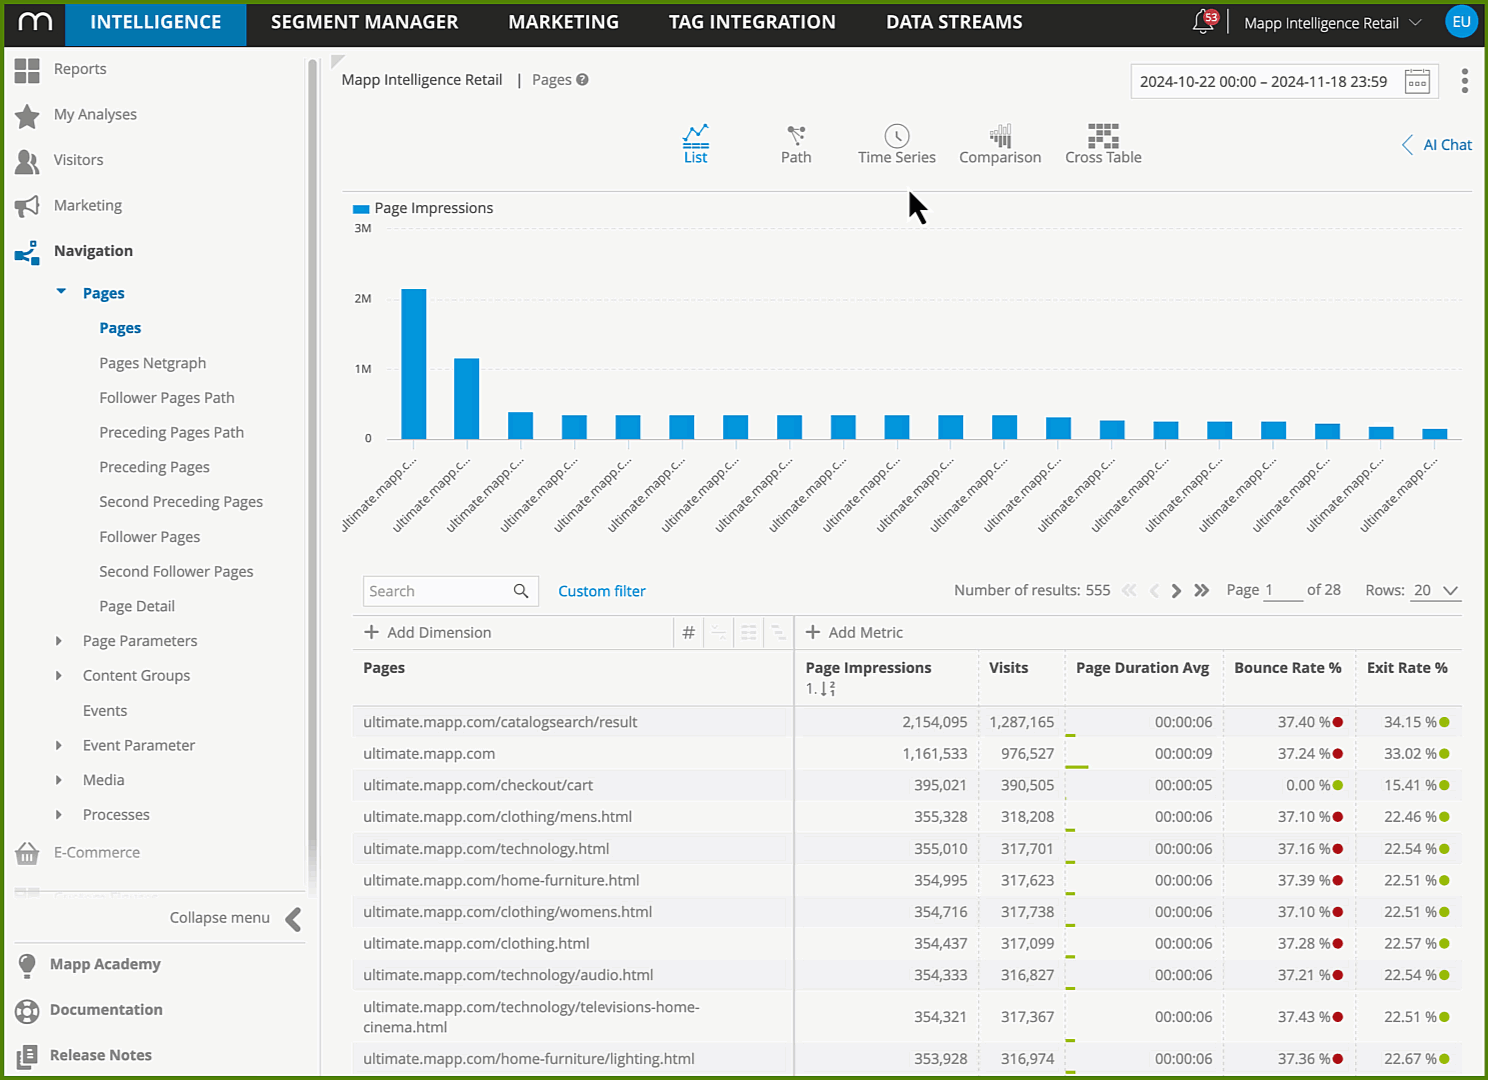
Open the Pages Analysis (Navigation > Pages > Pages)
Choose the relevant metrics, such as “Visits” or “Page Impressions.”
Activate the Time Series View: Switch to the Time Series icon in the top menu.
Time Series Configuration:
Select your desired time interval (e.g., Days or Weeks).
Activate the metrics you want to track in the Time Series view.
Select Pages:
Manually select specific pages you’re interested in, or
Use the Dynamic Top X option to automatically track the top X pages based on the selected metric.
Apply and Review the Results:
Click Apply to generate the Time Series chart.
Analyze how your selected pages are performing over the chosen time interval.
Note: Mapp Intelligence supports a maximum of 15 columns in the Time Series view. Configurations that exceed this limit (e.g., selecting 5 elements and 4 metrics, resulting in 20 columns) cannot be displayed. Adjust your selection to stay within the column limit.