Overview
In the Compose step, you define the content and behavior of your push notification. You can add text, media, and personalized elements, configure user interaction, and optionally create silent or custom-attribute-enhanced notifications.
Navigation Path
During message creation, follow the message creation process until you reach Compose.
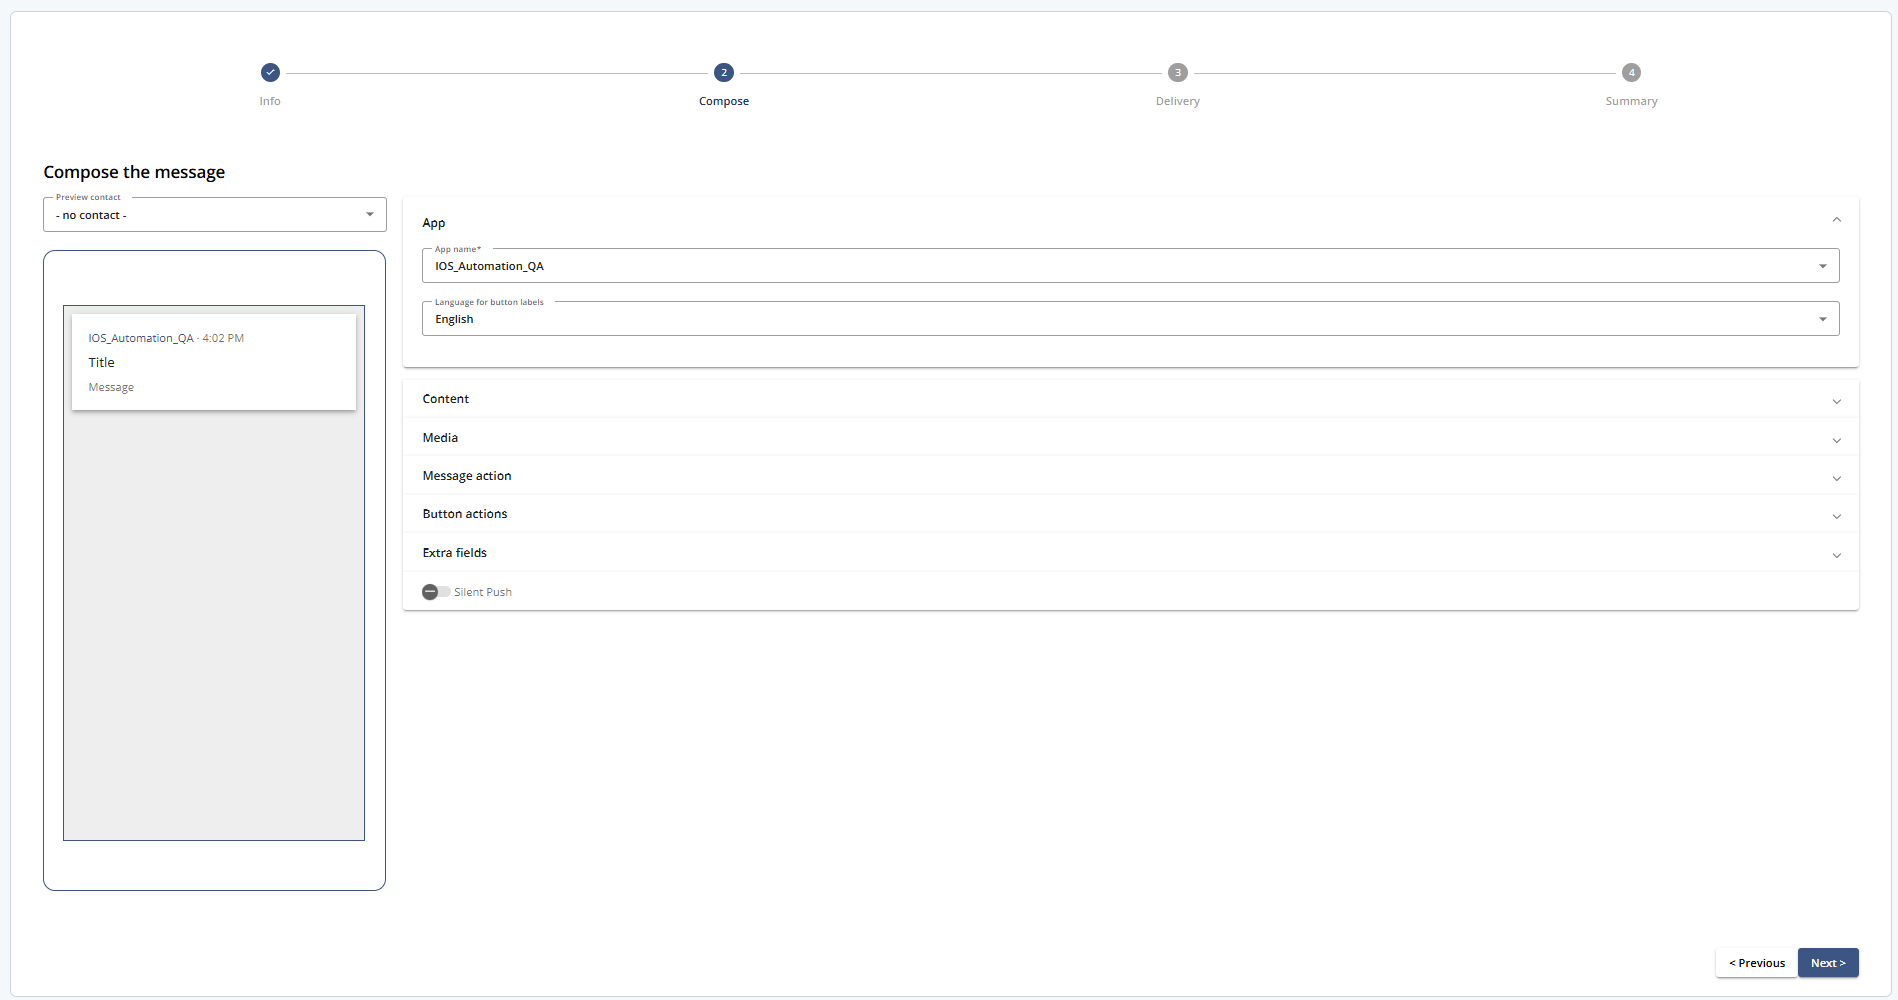
1 Compose Tools
1.1 App
Select the app for the push sendout, and the language for button labels.
Android only: When Priority Message is enabled, the notification is treated as urgent and delivered faster through Firebase.

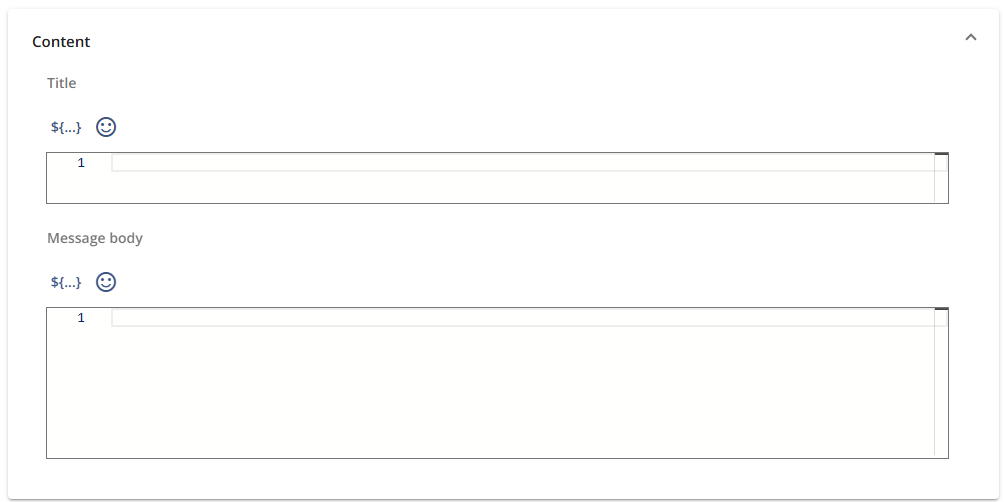
1.2 Content
Available for both the title and message body:
The
 icon allows you to include personalized elements. Personalization tags may affect character count.
The
 icon lets you choose from over 500 emojis.
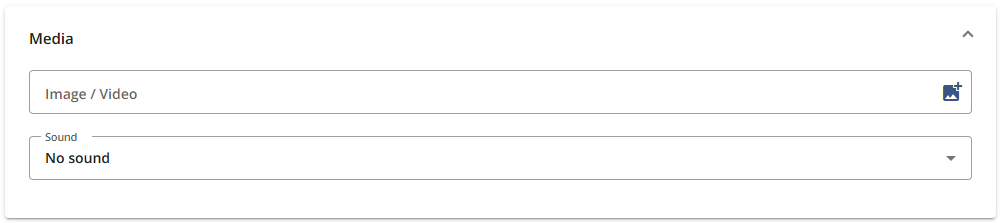
1.3 Media
 opens a pop-up to add images or videos from the Content Store or upload them.
In this section, you can also select whether to play a sound. The default is No Sound.
1.4 Message Action
Choose the action triggered by clicking the notification:
Launch the app (default)
Open a landing page
Open a deep link
Open an App Store/Play Store
Dial a number

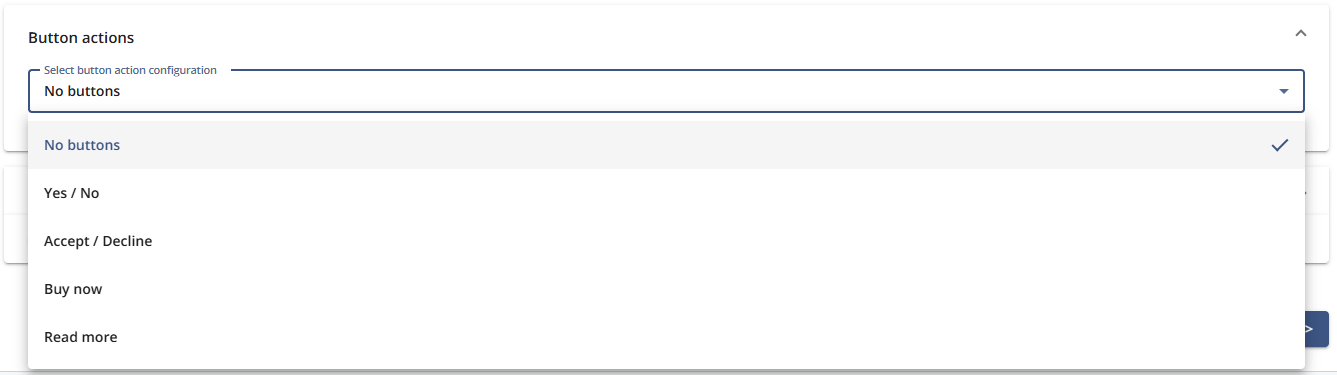
1.5 Button Actions
Buttons can be linked to message actions (above). The predefined buttons include:
Yes / No
Accept / Decline
Buy now
Read more
1.6 Extra fields
Create, update, or remove custom attributes to tailor experiences and boost user engagement.
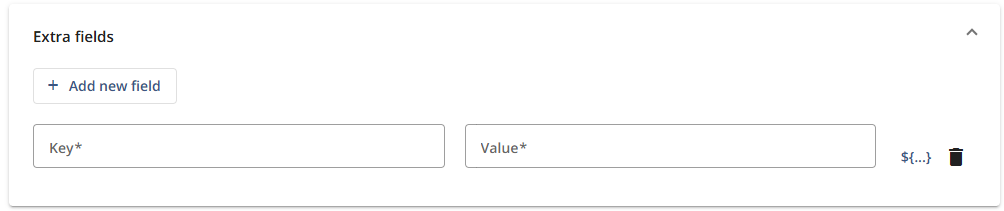
Note: Custom attributes are optional and must be enabled. Please contact your Customer Success Manager to activate this feature.
1.7 Silent Push
When activated, this option sends a silent notification (no alert to users) to update content in your app.

2 Preview Tools
Shows a live visual of the notification as edits are made. Updates automatically with each change.
Allows selection of a specific contact to display how personalized content (based on profile attributes) will appear.
The preview adapts to the changes that are being made. To see how a specific contact will see the message (with personalized details), choose the contact from the Preview Contact selection bar above the Push preview:
3 Buttons and Actions
Action | Description |
|---|---|
Previous | Returns to step 1. Info. |
Save | Saves your push notification as a draft and keeps the window open. You can return to a draft message and edit it later. |
Next | Opens step 3. Delivery of the message creation wizard. Here, you select the sendout group and the channel in which Mapp Engage sends the push notification. You can also apply a selection and prepare other sendout settings. |