The report options allow for various adoptions.
Title | The name of the report. It must be unique, i.e. no other report in the account can have this name. |
Description | This text appears at the beginning of the report. Here, you could introduce important metrics and formulas used in the report. |
Folder | Here you can choose an existing folder in which the report will be shown in the report overview.
|
Period | The time period chosen by default for all report elements is. You can choose other time periods for individual elements in their settings. If you do not want the time period to relate to a fixed date range, choose a dynamic time period in the calendar (e.g., one from the drop-down menu). |
Show table of content | If this option is activated, a clickable list of all report elements is shown at the top of the report. |
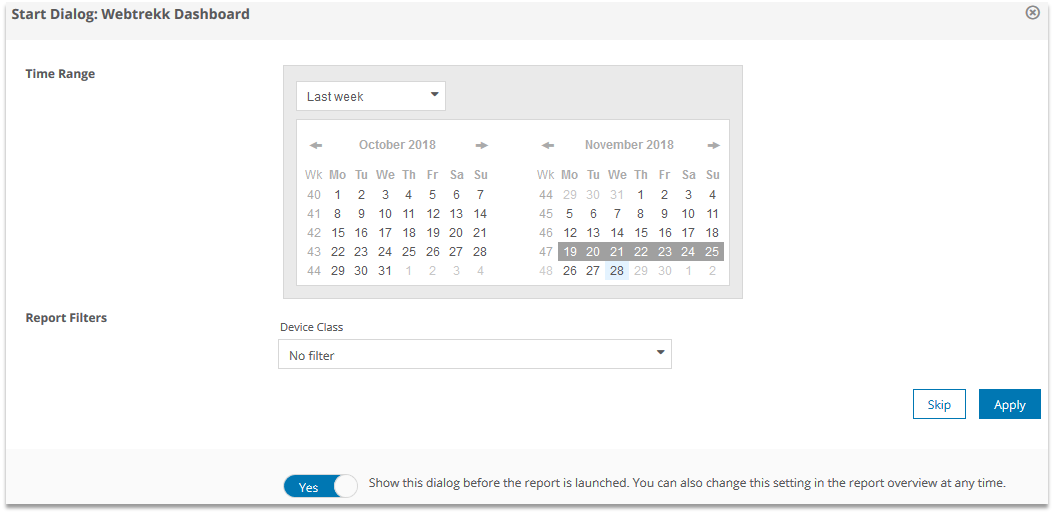
Enable Start Dialog | The start dialog is shown when you open a report. It allows for changing the time period and, if existing, the report filters before the first calculation of the report starts.
|
Update elements automatically | If activated, elements in the report will update automatically, as soon as new data is available. |
Assign categories to report | Categories determine who can access your report.
Note: Ensure the correct permissions are set in the User Management section to effectively control category access and assignment rights. |