Our Support Portal can be useful to you in various ways besides submitting support tickets (sometimes called cases). Here, you can also find important links to documentation resources and monitor or update tickets.
Logging into the Support Portal
The address of the Support Portal is support.mapp.com .
If this is your first login, you must set up your password as described here. Once logged in, you will see the main menu for creating and viewing tickets.
Portal Home Page
The main page provides access to the different expandable blocks for ticket management and general and technical help links.
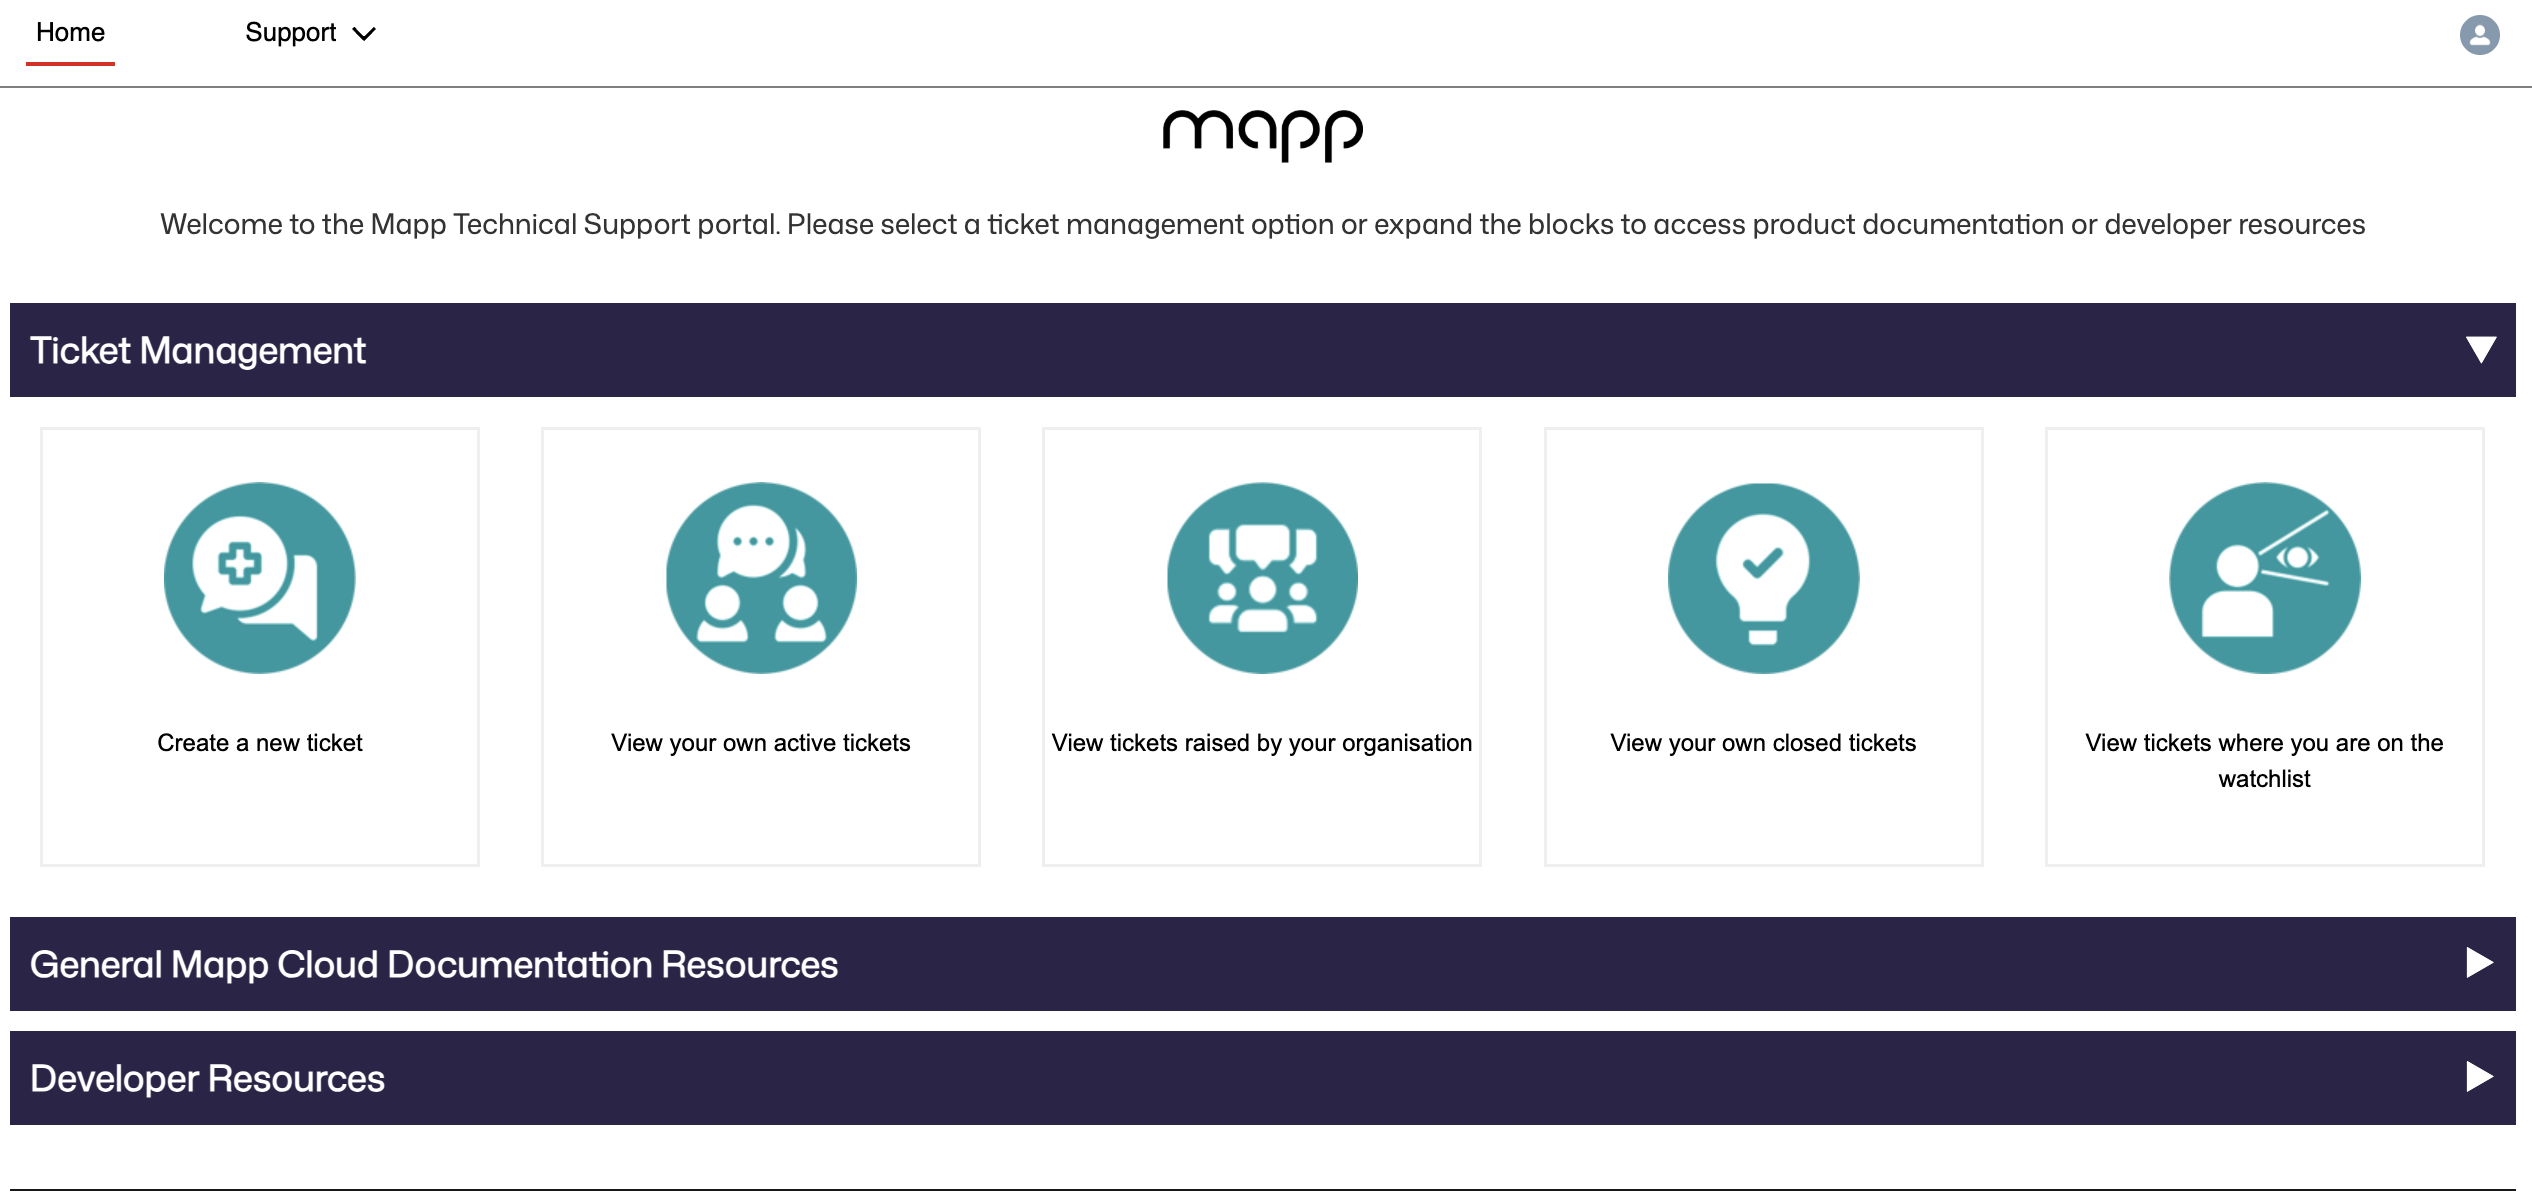
Top menu
Link back to the home page
Support menu containing links to:
Create a ticket form
My ticket list
All open tickets
Closed tickets
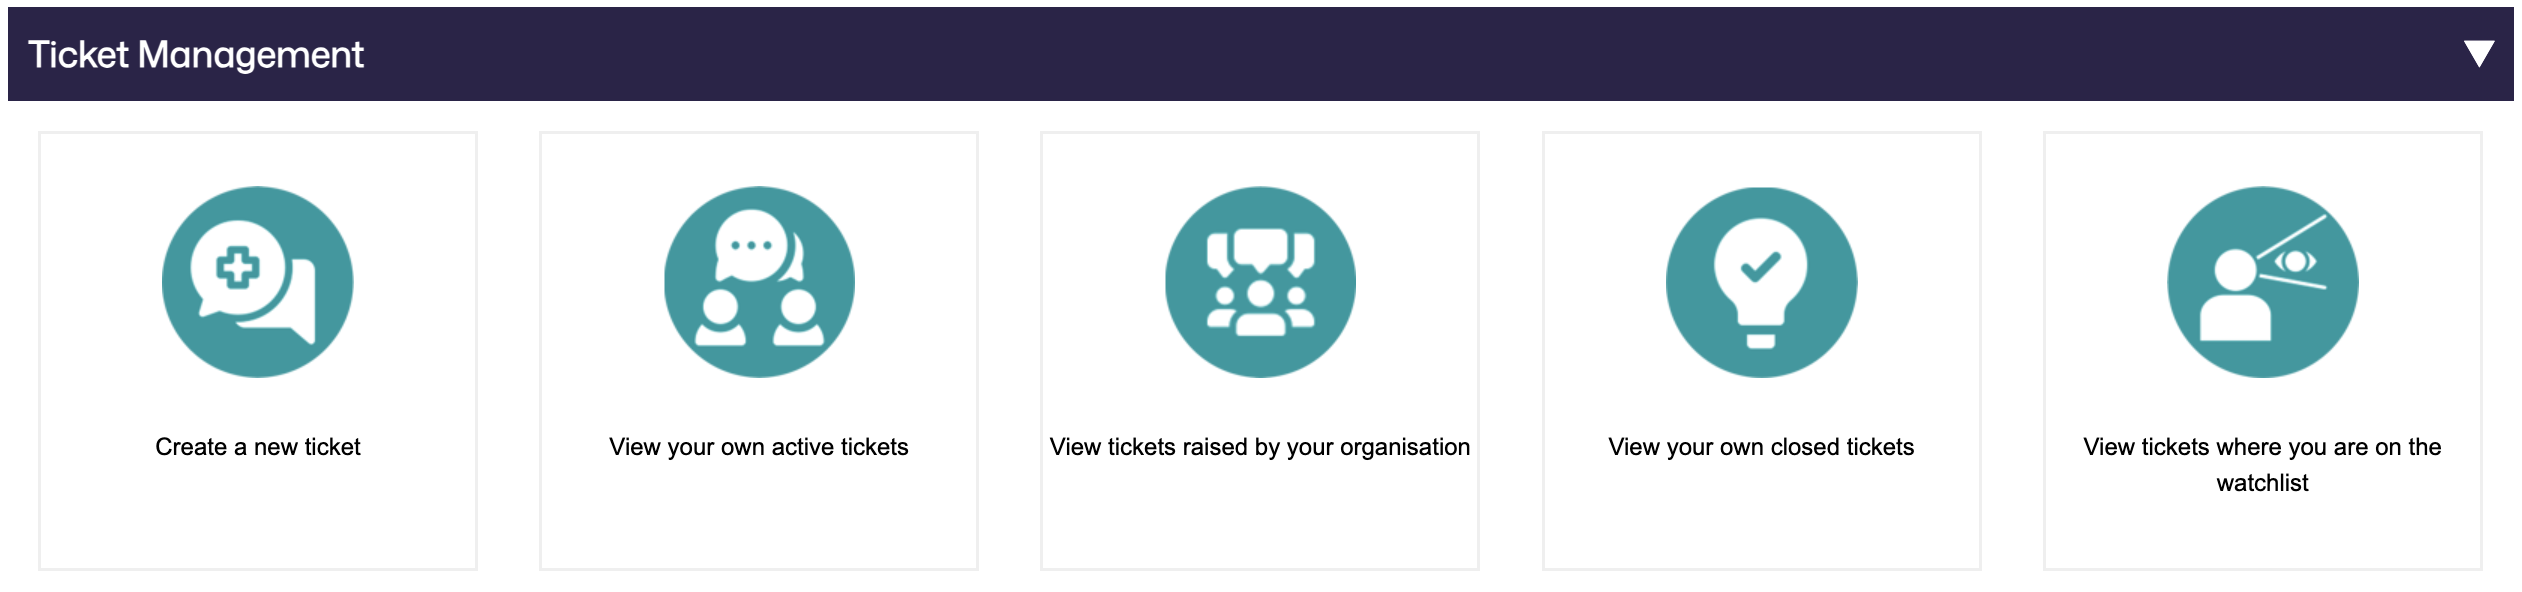
Ticket Management
These tiles allow you to create and view your Support and Service tickets.
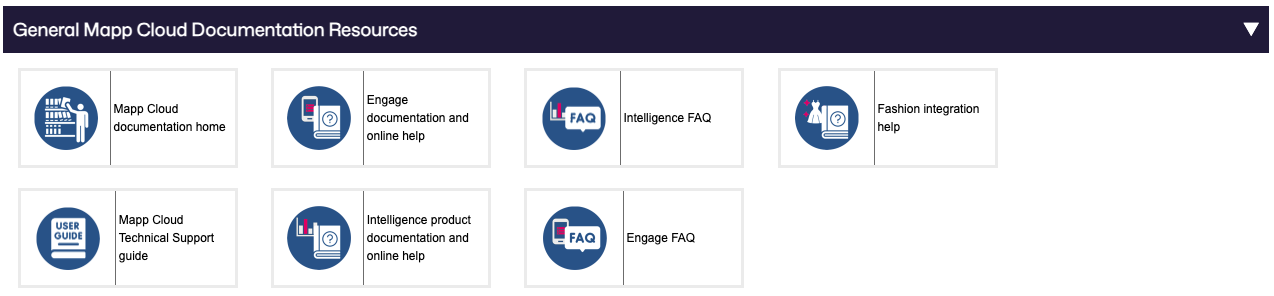
General Mapp Cloud Documentation Resources
These tiles provide links to general application support for Mapp Engage, Fashion and Intelligence, Frequently Asked Questions, and the Technical Support user guide.
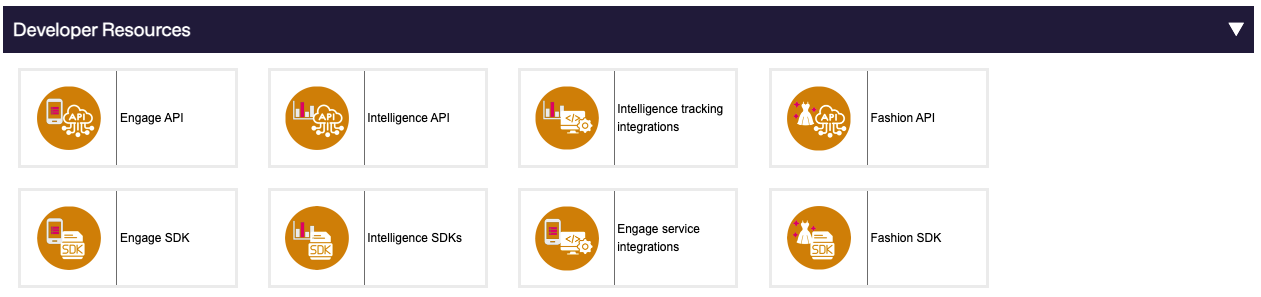
Developer Resources
These links provide access to the Engage, Fashion, and Intelligence developer resources, including the web service Application Programming Interface references, the mobile Solutions Developer Kit documentation, and website service integration manuals.
Creating a new ticket
Click the Create a new ticket tile link or select Support > Create Ticket from the top menu. The ticket creation form will then appear, which you must fill out.
Account Name: This is pre-selected and cannot be changed. It is the name of your organization.
Asset: Click in the asset field to select your Mapp product instance linked to your request
Watch List: You can select a colleague from the Support Portal users linked to your organization, who will be notified by email about actions taken on your ticket.
Watch list email: If you want to add extra contacts to your ticket who will be notified about actions but who are not pre-existing contacts on the Support Portal, please add the addresses here, with each email address separated by a comma.
Case Type: There are four ticket (‘case’) types to select from, corresponding to the type of request you have:
Service Request: You want to ask Mapp to do specific work on your product instance.
Technical Issue: You have a problem with your Mapp product.
Deliverability Support: You have identified issues linked to message delivery, such as blocks and bounces.
Question: Anything else?
Priority: Select the priority of your request as described in Ticket Priority Levels.
If you select “Priority 1”, you will be asked to justify the impact for this priority level.
Subject: A Brief description of the question you want to raise to Mapp
Description: A complete description of your question, allowing Mapp to work on your request. When raising a ticket, we recommend that you provide the following
The intent: What are you to achieve?
The reproduction: What did you do?
Actual behavior: What happened?
Supporting information: Dates, times, IDs of affected objects…
Attachments: After submitting the creation form, you can add attachments to the ticket.
Once you have completed the form, press the “Submit” button. Your ticket will be created, and you will be taken to this new ticket to add attachments and review your exchanges with Mapp.
Viewing your ticket lists
There are four ticket default views that display a list of tickets with a pre-defined filter:
Your own active tickets: Tickets that you directly raised to Mapp.
Tickets raised by your organization: Tickets raised by other members of your organization. This option depends on the portal role assigned to you by your Account Representative.
Your own closed tickets: Tickets you raised and have been closed.
Tickets where you are flagged on the watchlist: Tickets where you have been tagged as a viewer or interested party.
Each of these views has a filter bar allowing you to search for tickets by number, subject, or creator. This will display all matching tickets, irrespective of the current view, so you can search for active tickets even inside the closed ticket view.
Clicking on the ticket number in the list will open that specific ticket.
Viewing a specific ticket
Once you have identified the ticket you want to view, click on the ticket number to display the details.
Ticket information: This section presents the ticket's current status, assignment details, priority, and who is actively assigned to work on it at Mapp.
Ticket Additional Information: Contains the ticket subject and description.
Watch List Contact: Displays the ticket watchers.
Share an Update: Clicking Share an update opens the ticket comment window, which allows you to enter information and attachments and share them with Mapp.
Comments: Contains the details of all exchanges between you and Mapp.
Sharing information with Mapp through the ticket
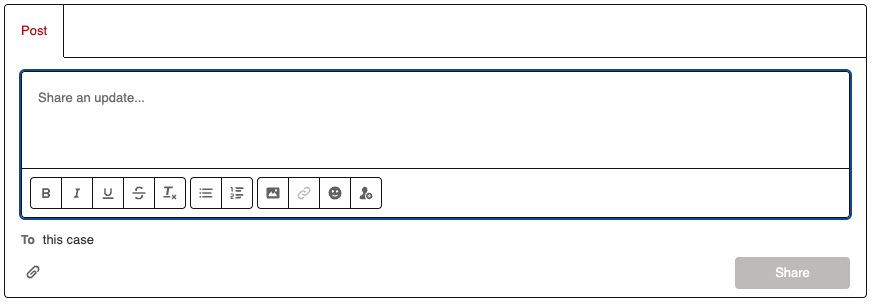
In the ticket window, there is a Post section with the option Share an update…:

Clicking on Share an update… opens the comment editor window, where you can enter your comments and share images and attachments with Mapp.
Enter your comment, and click on the Share button that will turn red once you start entering details:
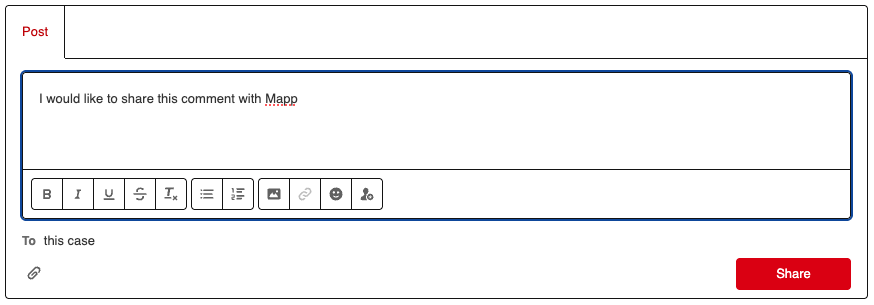
Once shared, the comment will be added to the ticket and visible to Mapp, who will respond.
Resolution and Closure
Closing a ticket
You can close a ticket at any time if, for example, you have found a solution to a question and no longer need Mapp's assistance. At the top of the ticket panel, you will find a “Close Case “ button:
.png) You will be prompted to enter a closure reason, and your ticket will be closed after validation.
You will be prompted to enter a closure reason, and your ticket will be closed after validation.
Note:
Once a ticket is closed, it can’t be reopened.
Accepting a solution
Once Mapp provides an answer to your ticket, you will be notified by email. You will have up to 10 business days to check the provided answer and confirm that your ticket is solved.
There is a direct link to the solved ticket in the notification email, and you can also view tickets pending your review in your Active Tickets list: The status will be “Pending Customer Review”.
Click on the ticket number to open it, and review the provided solution. And at the top of the page, the “Close Case” button will be replaced by a “Resolution Accept / Reject” button:
 From here, you have three options:
Accept the solution: Once accepted, your ticket will be closed.
Reject the solution: You must enter the reasons for your rejection. Upon confirmation, your ticket will be reset to working status, where it will be reviewed and reworked to address your rejection comments.
Do nothing: The ticket will self-close after 10 working days after the solution is proposed.
Important notes:
Once a ticket is solved, Mapp will not see any further comments you may add unless you reject the solution.
Once a ticket is closed, it cannot be reopened, and you will need to open a new ticket if you require further assistance.